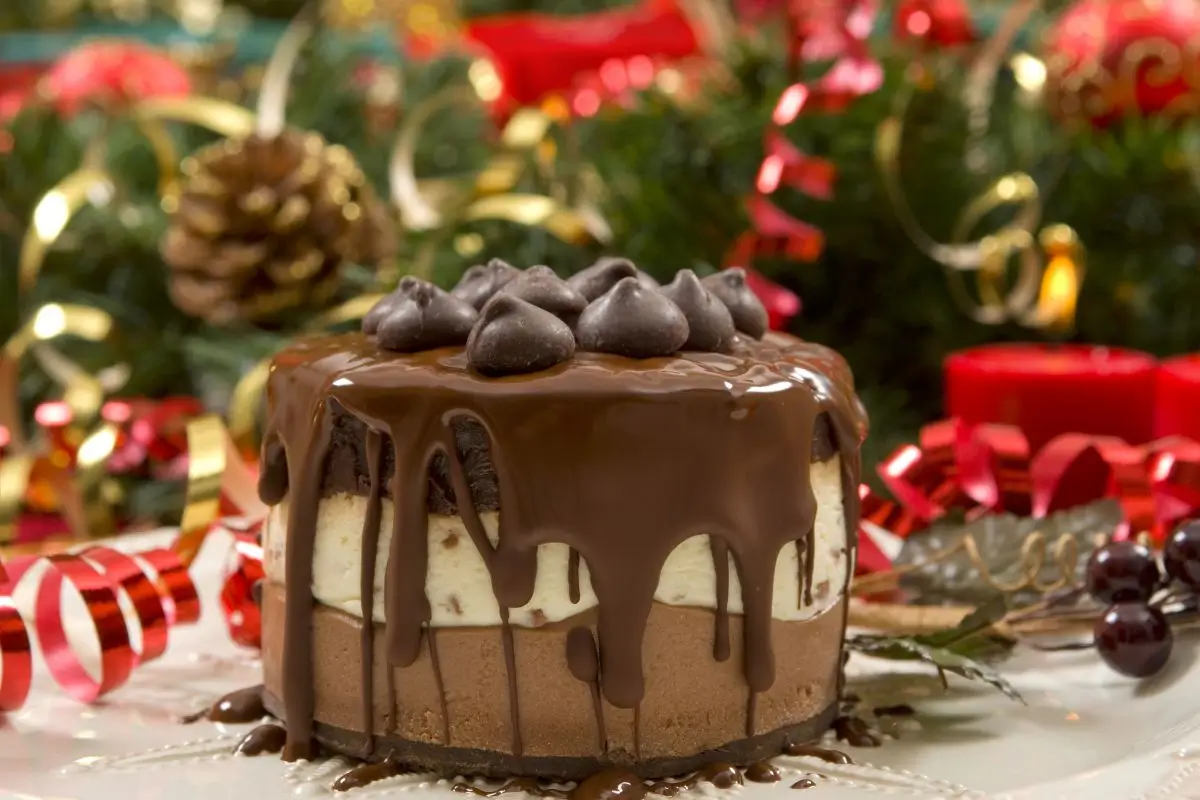
Carnivore dessert recipes are a game-changer for anyone on a carnivore diet who craves a sweet treat without straying from their goals.
If you’ve been searching for indulgent, low-carb desserts that align with your lifestyle, you’re in the right place!
These recipes focus on nutrient-dense, animal-based ingredients like heavy cream, butter, eggs, and animal fats. They’re easy to prepare, delicious, and packed with the flavors you love, all while keeping carbs to a minimum.
From creamy puddings to decadent fat bombs, carnivore desserts make it possible to satisfy your sweet tooth without compromise.
Dive into this guide to discover how simple and satisfying it can be to create indulgent carnivore dessert recipes.
Whether you’re looking for quick no-bake options or rich, flavorful cakes, there’s something here to suit every craving.
The Best Carnivore Desserts recipes
Are you ready to indulge in some guilt-free, carnivore-approved desserts? These recipes are designed to satisfy your cravings while keeping you aligned with your dietary goals. Whether you’re a fan of creamy textures, rich flavors, or quick and easy preparation, these options offer something for everyone.
Each dessert is crafted with simple, nutrient-dense ingredients like heavy cream, eggs, butter, and animal fats to deliver maximum flavor with minimal effort.
From classic puddings to indulgent cheesecakes and even no-bake options, these recipes prove that you don’t have to sacrifice taste or satisfaction to stick to your carnivore diet.
1. Carnivore Ice Cream
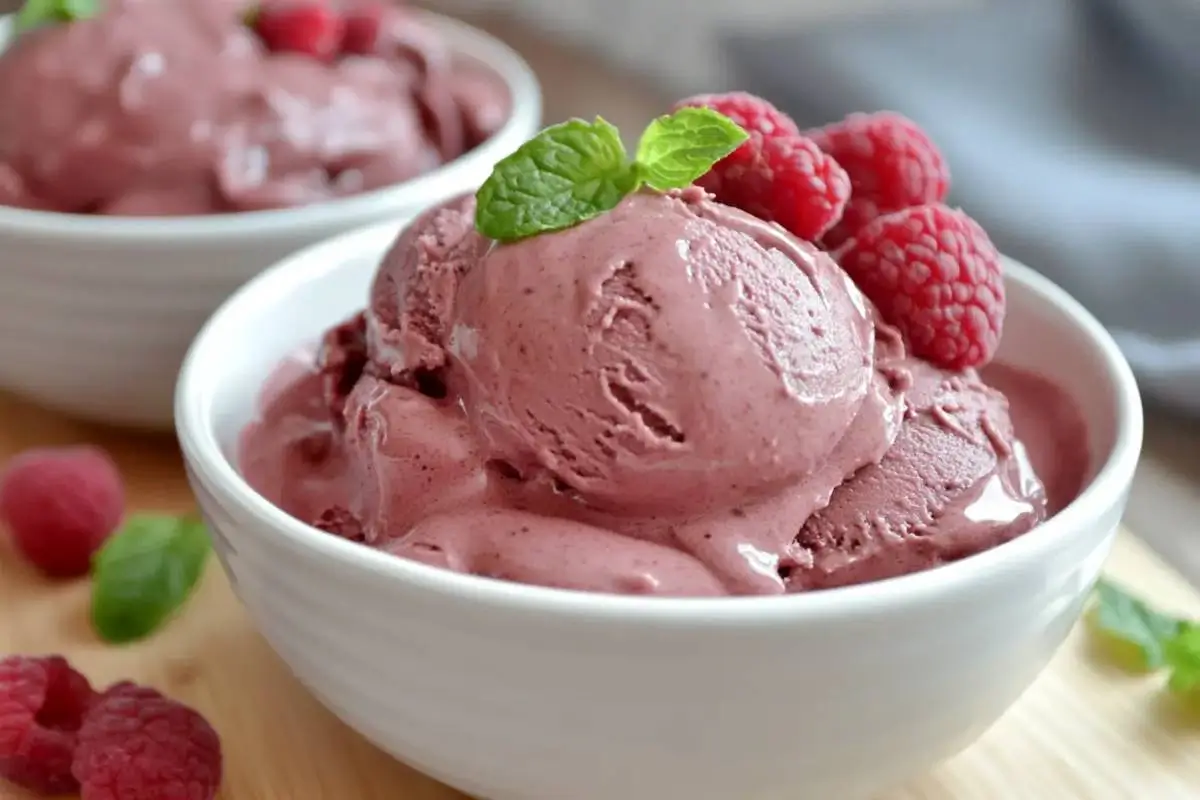
A creamy, rich dessert that’s entirely carnivore-friendly. Perfect for those hot days when you want a cool treat.
Ingredients:
How to Make:
- 1Prepare the Base: Whisk the egg yolks in a medium bowl until they are pale and creamy.
- 2Heat the Cream: In a saucepan, warm the heavy whipping cream over medium heat until it begins to simmer gently (don’t let it boil).
- 3Temper the Eggs: Slowly pour a ladle of the warm cream into the whisked egg yolks, whisking constantly to avoid curdling. Continue mixing until the cream is fully blended in and has a smooth consistency.
- 4Cook the Mixture: Return the egg and cream mixture to the saucepan. Cook over low heat, stirring continuously with a wooden spoon until the custard thickens enough to coat the back of the spoon.
- 5Incorporate Butter and Flavor: Stir in the melted butter and optional vanilla extract for added richness and aroma.
- 6Cool and Churn: Allow the custard to cool completely in the refrigerator. Once chilled, pour it into an ice cream maker and churn according to the manufacturer’s instructions.
- 7Freeze and Serve: Transfer to a container and freeze for 2–3 hours for a firmer texture. Scoop and enjoy!
Pro Tip: Garnish with a sprinkle of sea salt for an enhanced flavor profile.
2. Crustless Cheesecake Fat Bomb
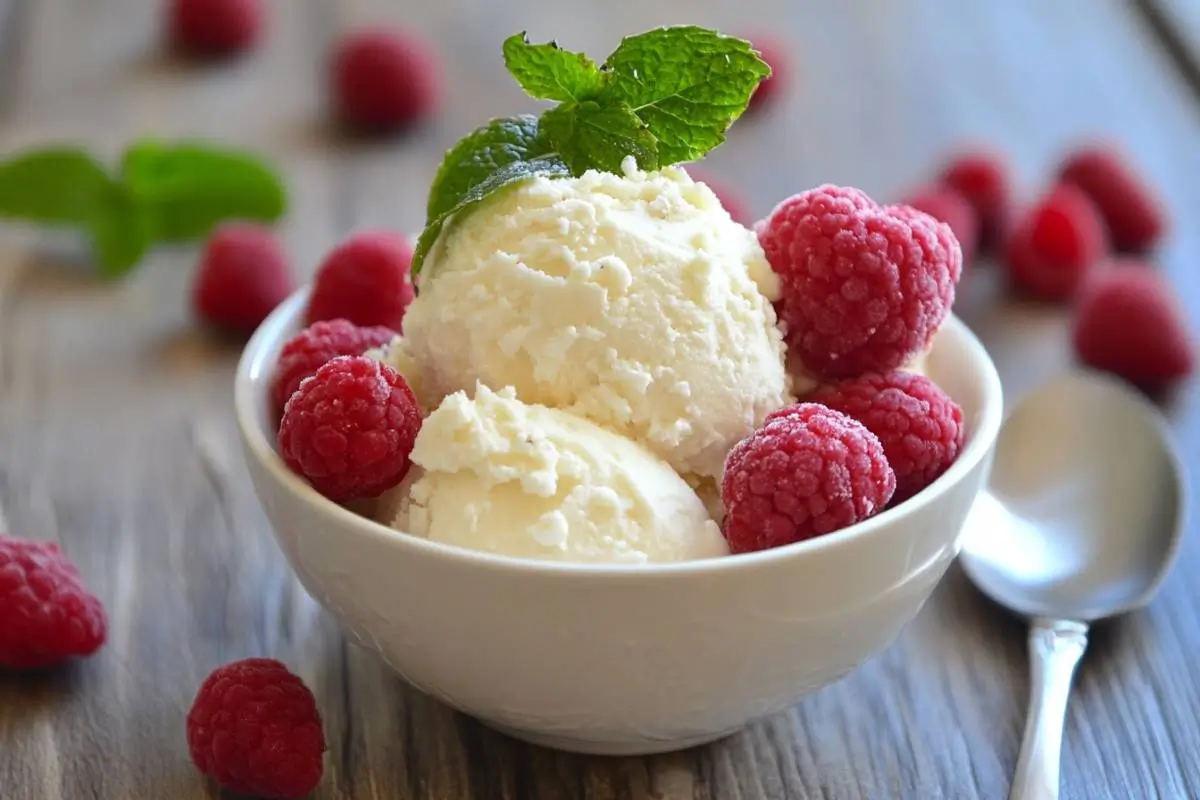
An easy, no-bake treat that’s packed with fats and flavor—perfect for a quick energy boost!
Ingredients:
How to Make:
- 1Blend the Base: In a mixing bowl, combine softened cream cheese and butter. Use a hand mixer or stand mixer to beat the ingredients until light and fluffy.
- 2Add Flavoring: Mix in the vanilla extract and sweetener (if using). Ensure everything is evenly combined.
- 3Shape the Fat Bombs: Scoop the mixture into silicone molds or roll into small balls using your hands. If the mixture feels too soft, chill it in the fridge for 10–15 minutes before shaping.
- 4Set and Chill: Place the molds or shaped balls in the refrigerator for 2–3 hours to firm up.
- 5Serve: Pop the fat bombs out of the molds and store them in an airtight container in the fridge for up to a week.
Pro Tip: Sprinkle with crushed freeze-dried raspberries (optional and minimal carbs) for a burst of tangy flavor.
3. Carnivore Egg Pudding
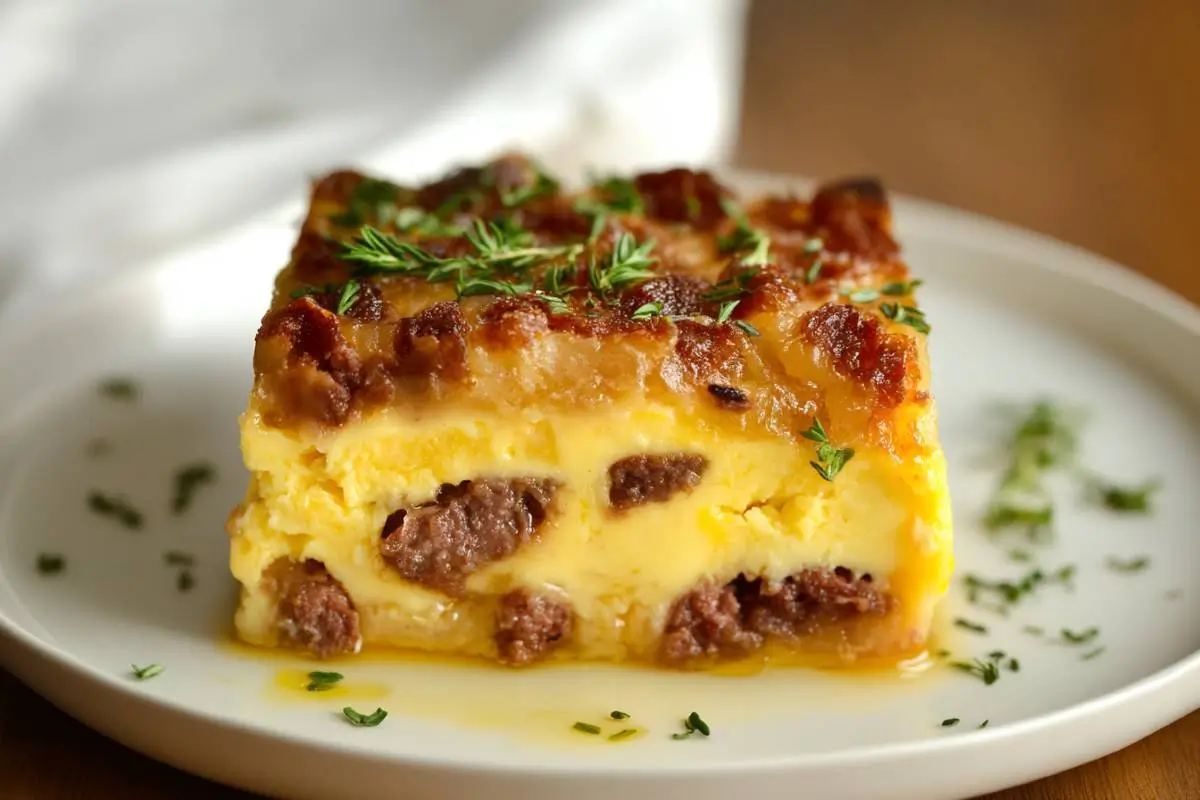
A silky, custard-like dessert made with minimal ingredients. It’s perfect for a nutrient-dense and indulgent finish to any meal.
Ingredients:
How to Make:
- 1Preheat the Oven: Set your oven to 325°F (160°C) and prepare a water bath by filling a baking dish with 1–2 inches of hot water.
- 2Mix the Ingredients: In a medium bowl, whisk together eggs, heavy cream, melted butter, and optional flavoring until fully combined and smooth.
- 3Pour into Ramekins: Divide the mixture evenly into 4–6 ramekins or an oven-safe dish.
- 4Bake in a Water Bath: Place the ramekins into the prepared water bath and bake for 25–30 minutes or until the pudding is set but still slightly jiggly in the center.
- 5Cool and Chill: Remove from the oven and let cool at room temperature. Place in the refrigerator for a minimum of two hours to allow it to set properly before serving.
- 6Serve: Enjoy cold, garnished with a dollop of whipped cream (optional).
Pro Tip: Add a sprinkle of unsweetened cocoa powder or a few drops of espresso for a mocha twist.
4. No-Bake Cheesecake Pudding
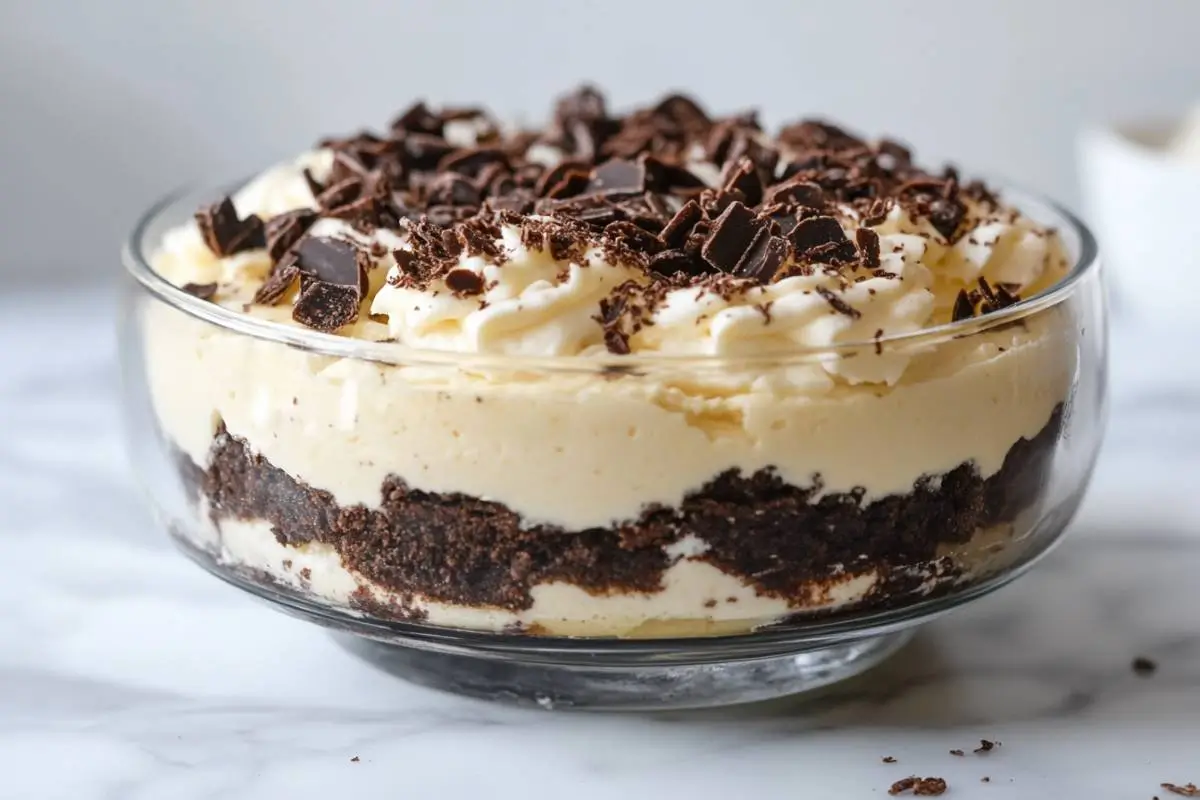
This creamy and decadent no-bake dessert combines simplicity with indulgence, perfect for satisfying cravings while staying true to your carnivore lifestyle.
Ingredients:
How to Make:
- 1Cream the Base: Using a hand mixer or whisk, beat the softened cream cheese and butter together in a medium-sized bowl until smooth and fluffy. This ensures no lumps in the pudding.
- 2Incorporate the Cream: Slowly add the heavy whipping cream while mixing on low speed. Gradually increase to high speed until the mixture becomes light and airy.
- 3Add Flavor: Mix in the vanilla extract and sweetener (if using). Taste and adjust sweetness to preference.
- 4Chill the Pudding: Spoon the mixture into serving dishes or bowls. Cover tightly with plastic wrap to prevent skin formation and refrigerate for at least 2–3 hours to firm up.
- 5Serve: Top with a dollop of whipped cream, a sprinkle of unsweetened cocoa powder, or a pinch of sea salt for extra flavor (optional).
Pro Tip: For a richer texture, whip the cream separately before folding it into the cream cheese mixture.
5. Chocolate Avocado Mousse
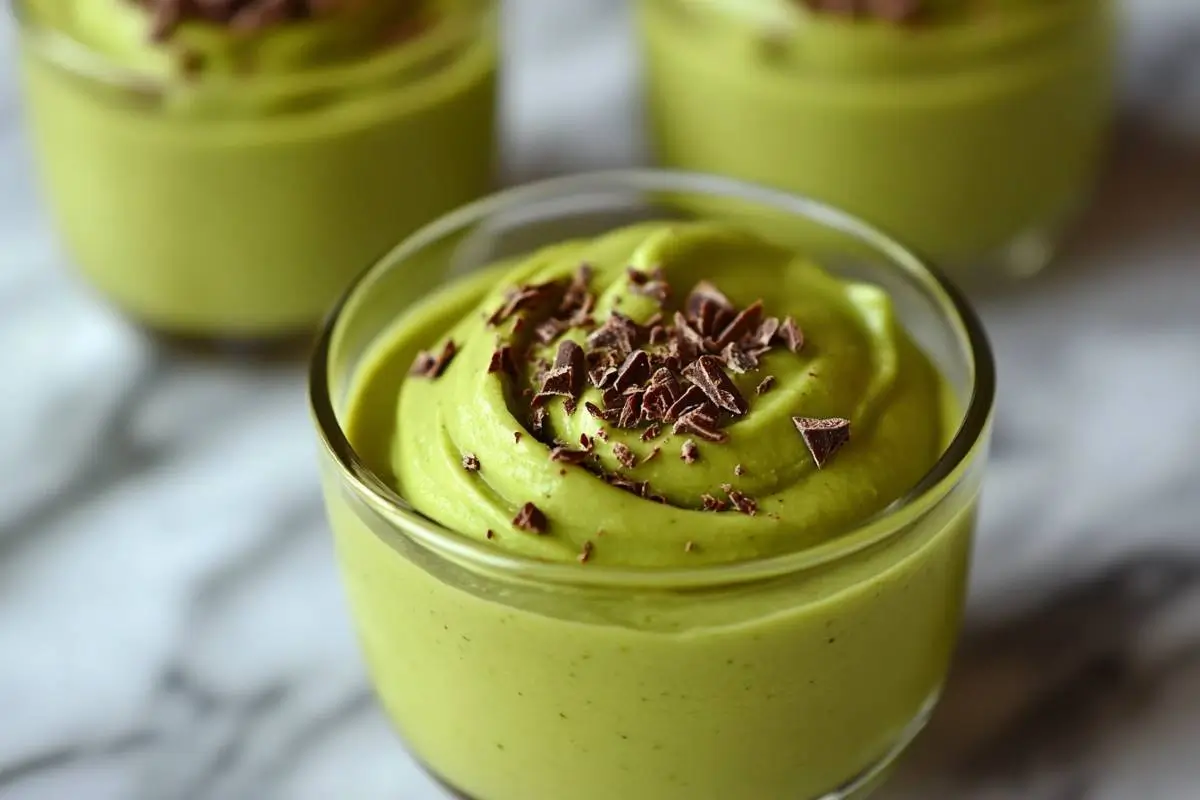
This silky and rich chocolate mousse is a delightful way to incorporate healthy fats into your carnivore dessert while staying indulgent and satisfying.
Ingredients:
How to Make:
- 1Prepare the Ingredients: Slice the avocados in half, remove the pits, and scoop the flesh into a blender or food processor.
- 2Blend the Base: Add the heavy whipping cream, melted butter or ghee, and unsweetened cocoa powder to the blender. Blend on high speed until smooth and creamy, ensuring no lumps remain.
- 3Sweeten and Adjust: Taste the mousse and add sweetener if desired. Blend again to incorporate. Adjust cocoa for more intensity or cream for a lighter texture.
- 4Chill: Transfer the mousse to individual serving bowls or glasses. Cover with plastic wrap and refrigerate for at least 1–2 hours to allow the flavors to meld.
- 5Serve: Garnish with a pinch of cocoa powder, a sprinkle of sea salt, or a swirl of melted butter for a gourmet presentation.
Pro Tip: Add a few drops of peppermint extract for a refreshing mint-chocolate variation.
6. Chocolate Chia Pudding
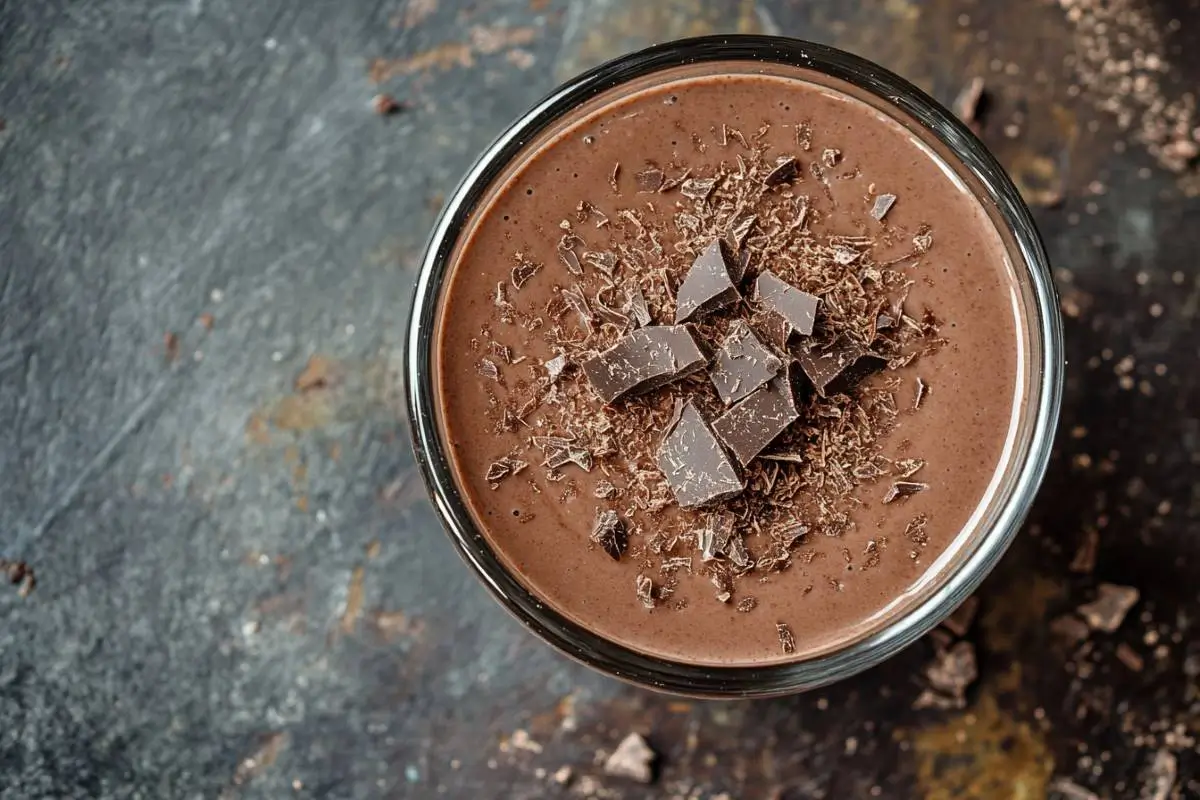
A luxurious, nutrient-packed dessert that offers a creamy texture and a hint of chocolate while providing a satisfying dose of omega-3s and fats.
Ingredients:
How to Make:
- 1Mix the Base: In a large bowl, whisk together the heavy whipping cream, cocoa powder, and optional sweetener until fully combined. The mixture should be smooth, with no lumps of cocoa.
- 2Add Chia Seeds: Gently stir in the chia seeds, ensuring they are evenly distributed throughout the mixture. This prevents clumping as the seeds absorb the liquid.
- 3Refrigerate: Cover the bowl with plastic wrap and place it in the refrigerator for at least 4 hours, preferably overnight. Stir the mixture every 30 minutes during the first hour to ensure the chia seeds expand evenly.
- 4Blend (Optional): For a smoother texture, blend the pudding with an immersion blender or in a regular blender after chilling. This breaks down the chia seeds and creates a more custard-like consistency.
- 5Serve: Spoon the pudding into serving bowls and garnish with a dusting of cocoa powder or a drizzle of heavy cream.
Pro Tip: For added richness, fold in a tablespoon of melted butter before chilling, or add a dollop of whipped cream on top before serving.
7. Peanut Butter Cups (Carnivore-Friendly)
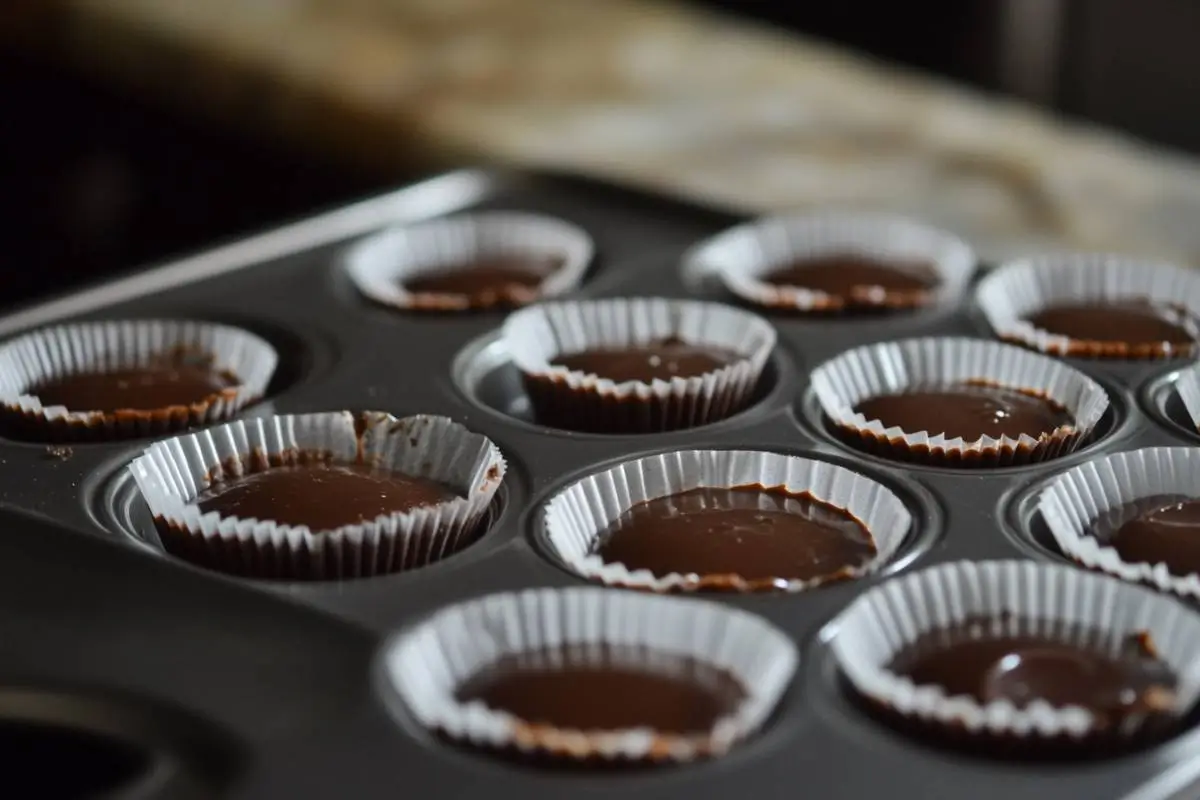
Rich and satisfying, these peanut butter cups are carnivore-friendly when made with alternative nut-free or animal-based spreads, ensuring you stay on track with your diet.
Ingredients:
How to Make:
- 1Melt the Base: In a microwave-safe bowl, melt the butter until smooth. Let it cool slightly.
- 2Mix Ingredients: Add the animal-based butter substitute, cocoa powder, optional sweetener, and sea salt. Mix thoroughly until smooth and creamy.
- 3Layer the Cups: Line a muffin tin with small silicone liners. Spoon a thin layer of the mixture into the bottom of each liner. Spread evenly with a spoon or small spatula.
- 4Freeze: Place the muffin tin in the freezer for 10–15 minutes to let the first layer set.
- 5Add a Second Layer: If desired, repeat with another layer of the butter mixture for a thicker cup.
- 6Chill and Serve: Freeze for another 20 minutes until fully firm. Remove from liners and store in an airtight container in the fridge or freezer.
Pro Tip: Sprinkle a tiny bit of sea salt on top before freezing for an added flavor boost.
8. chicken -Wrapped Dates (Carnivore Twist)
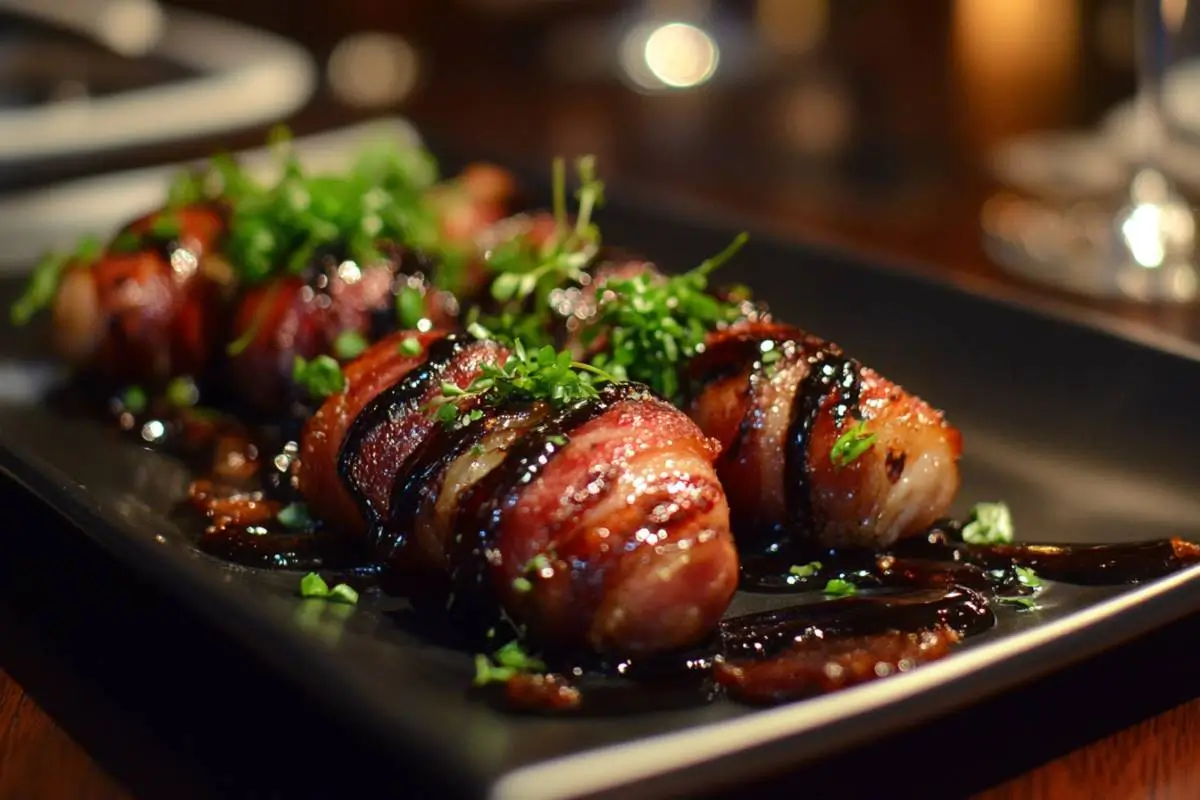
A sweet-and-savory treat modified for the carnivore diet by using minimal carbs and focusing on the rich flavors of chicken and animal fats.
Ingredients:
How to Make:
- 1Prepare the Dates: Slice the dates open lengthwise and remove the pits. You can leave them whole or stuff them with a small piece of cream cheese or a dab of melted butter for extra richness.
- 2Wrap with chicken : Wrap each date tightly with a half strip of chicken. Secure with a toothpick to keep them in place.
- 3Bake: Preheat your oven to 375°F (190°C). Arrange the chicken-wrapped dates on a parchment-lined baking sheet, ensuring they don’t touch.
- 4Brush with Butter: If desired, brush the bacon with melted butter for a crispier texture and added flavor.
- 5Cook: Bake for 20–25 minutes, turning halfway through, until the chicken is crispy and the dates are soft.
- 6Serve: Let them cool for a few minutes before serving as a dessert or snack.
Pro Tip: For an extra carnivore twist, drizzle the dates with a touch of beef tallow before baking.
9. Kiltz’s Carnivore Ice Cream
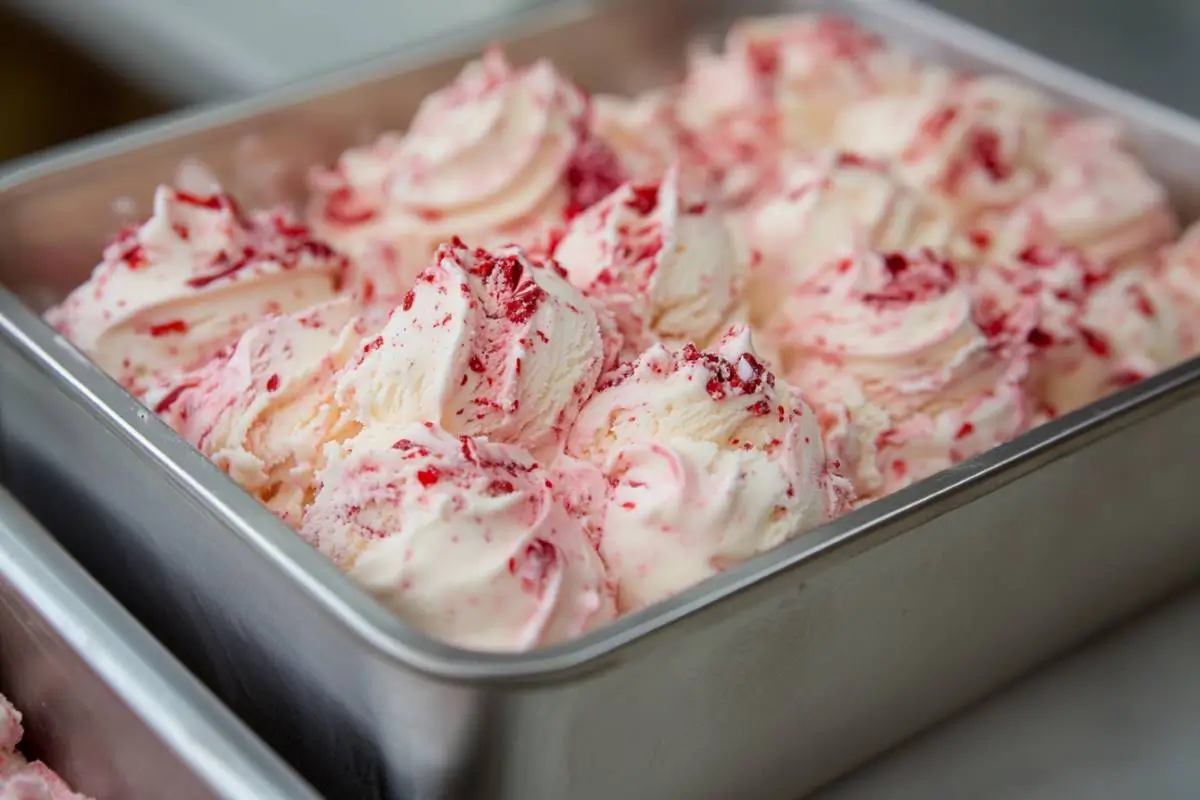
Dr. Kiltz’s famous carnivore ice cream is a creamy, decadent treat that keeps things simple and satisfying while remaining aligned with the diet.
Ingredients:
How to Make:
- 1Prepare the Base: In a mixing bowl, whisk the egg yolks until pale and creamy.
- 2Heat the Cream: In a saucepan, warm the heavy whipping cream over medium heat until it starts to simmer. Slowly pour the cream into the egg yolks, whisking constantly to temper them.
- 3Thicken the Custard: Return the mixture to the saucepan and cook on low heat, stirring continuously until it thickens slightly and coats the back of a spoon.
- 4Add Butter and Flavor: Stir in the melted butter and optional vanilla extract. Let the custard cool to room temperature.
- 5Churn and Freeze: Pour the mixture into an ice cream maker and churn until it reaches your desired consistency. For firmer ice cream, transfer to a container and freeze for an additional 2–3 hours.
- 6Serve: Scoop and enjoy plain or topped with a small drizzle of melted butter for extra richness.
Pro Tip: Freeze the bowl of your ice cream maker overnight for quicker churning and a smoother texture.
10. Butter Bites (Also Known as Carnivore Candy or Carnivore Crack)
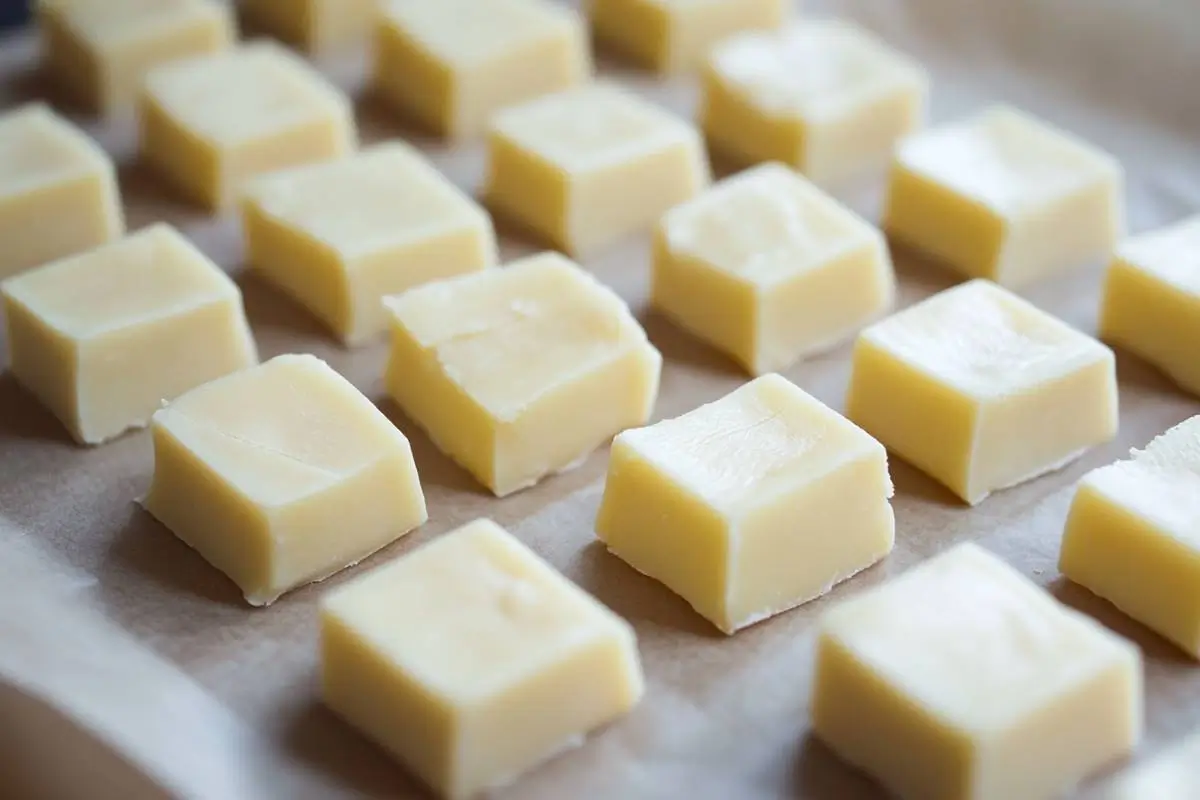
Butter bites are the ultimate carnivore treat—simple, nutrient-dense, and packed with flavor. They’re a perfect grab-and-go snack or dessert.
Ingredients:
How to Make:
- 1Melt the Butter: In a microwave-safe bowl, melt the butter until smooth and slightly cooled. If you prefer a whipped texture, soften the butter instead of fully melting it.
- 2Incorporate Cream and Flavor: Add the heavy whipping cream, sea salt, and optional vanilla extract or sweetener. Stir thoroughly until smooth.
- 3Pour into Molds: Use silicone molds or an ice cube tray to portion the butter mixture.
- 4Chill: Place the molds in the freezer for about 30 minutes or until the bites are firm.
- 5Serve: Pop the butter bites out of the molds and store them in an airtight container in the refrigerator or freezer.
11. Carnivore Air Fryer Crème Brûlée
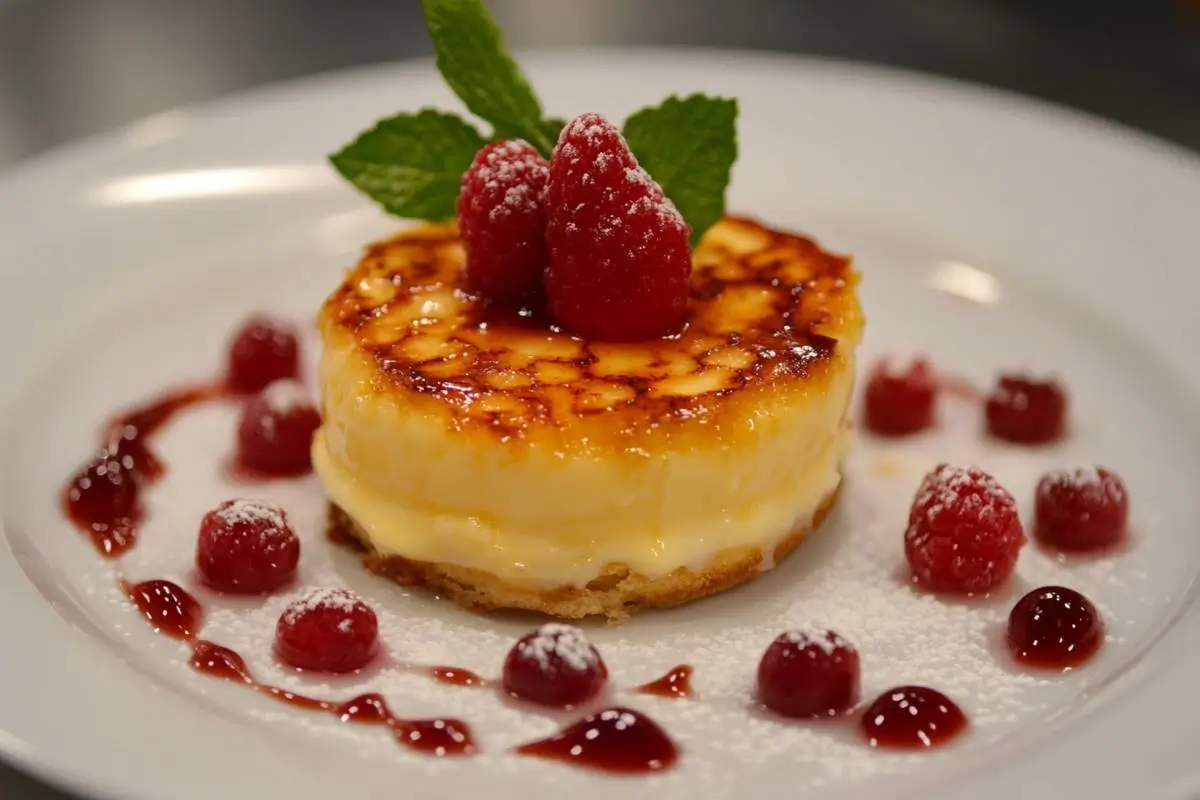
A luxurious dessert made easy with the air fryer! This carnivore crème brûlée delivers a creamy custard with a caramelized top.
Ingredients:
How to Make:
- 1Prepare the Custard: In a mixing bowl, whisk the egg yolks until smooth. Slowly whisk in the heavy whipping cream and melted butter. Add vanilla extract if desired.
- 2Pour into Ramekins: Divide the custard mixture evenly into small ramekins. Cover each ramekin with foil to prevent browning.
- 3Preheat the Air Fryer: Set your air fryer to 300°F (150°C). Preheat for 5 minutes.
- 4Cook: Place the ramekins in the air fryer basket and cook for 20–25 minutes. The custard should be firm around the edges while still having a slight wobble in the middle.
- 5Cool and Chill: Remove the ramekins from the air fryer and allow them to cool to room temperature. Let it chill in the fridge for at least two hours to ensure it firms up completely.
- 6Caramelize the Top (Optional): If desired, sprinkle a tiny amount of glycine powder on top and use a kitchen torch to caramelize it.
- 7Serve: Enjoy chilled with a dollop of whipped cream (optional).
Pro Tip: For a richer texture, use a combination of heavy cream and a tablespoon of sour cream.
12. Easy Carnivore Jello and Cream
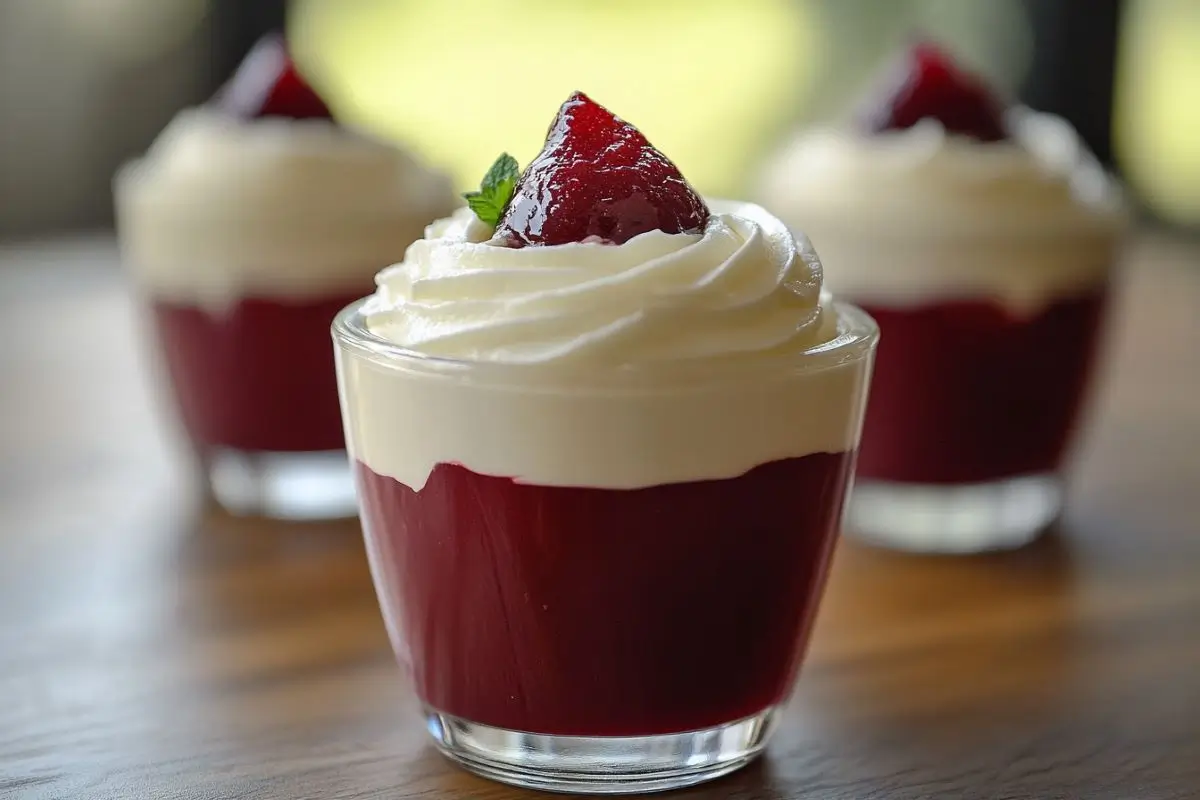
This simple dessert combines the refreshing texture of jello with the richness of cream, creating a fun and satisfying treat.
Ingredients:
How to Make:
- 1Dissolve Gelatin: In a saucepan, warm the bone broth over low heat. Gradually sprinkle in the gelatin powder while whisking continuously to dissolve completely.
- 2Pour into Molds: Once the gelatin is fully dissolved, remove from heat and pour the mixture into individual molds or a large dish.
- 3Chill the Jello: Place the molds in the refrigerator and let them set for at least 4 hours or overnight.
- 4Prepare the Cream: Whisk the heavy whipping cream until slightly thickened. Add vanilla extract or sea salt if desired.
- 5Serve: Slice or scoop the jello into serving bowls and top with the whipped cream. For extra indulgence, drizzle with a bit of melted butter.
Pro Tip: For added flavor, infuse the bone broth with vanilla or cinnamon before dissolving the gelatin.
13. Frozen Coffee Dessert (Carnivore Iced Delight)
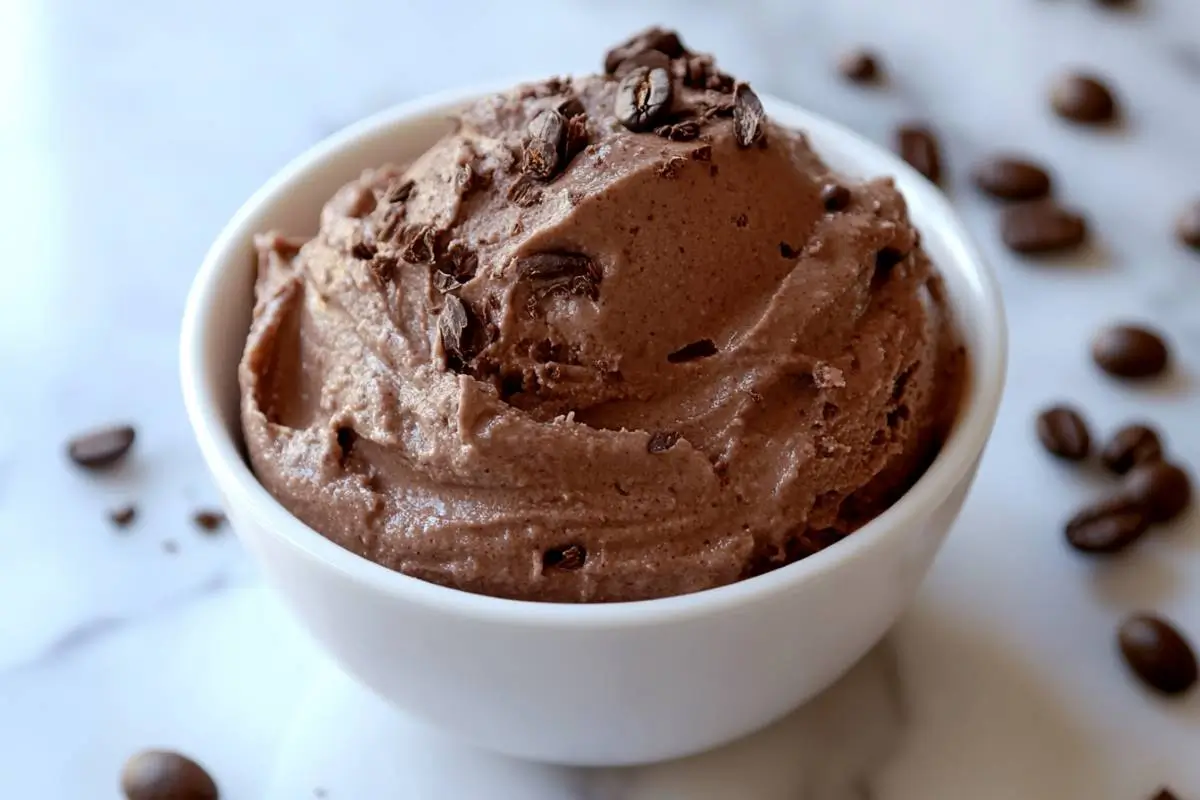
This frozen coffee dessert is a refreshing and energizing treat, combining the richness of cream with the bold flavor of coffee.
Ingredients:
How to Make:
- 1Combine Ingredients: In a mixing bowl, whisk together the cooled coffee, heavy whipping cream, melted butter, and optional sweetener or vanilla extract.
- 2Pour into Molds or Containers: Divide the mixture evenly into silicone molds, an ice cube tray, or a shallow dish for easier scooping later.
- 3Freeze: Place in the freezer for at least 4 hours or until fully set.
- 4Serve: Pop the frozen pieces out of the molds or scoop from the dish and serve as is, or blend them in a food processor for a smooth and creamy texture.
Pro Tip: Sprinkle with a pinch of unsweetened cocoa powder for a mocha twist or a tiny drizzle of melted butter for added richness.
14. Carnivore Birthday Cake
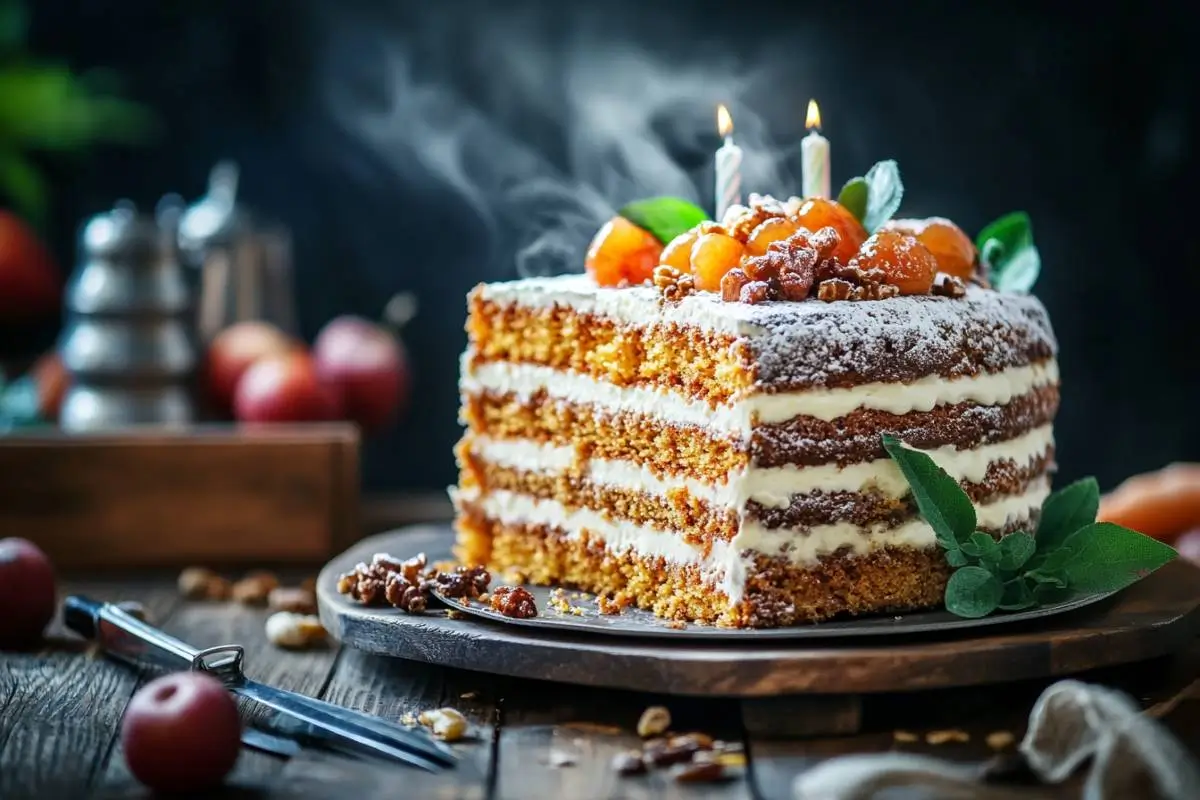
This carnivore-friendly cake is perfect for special occasions, offering a rich and dense texture without flour or sugar.
Ingredients:
How to Make:
- 1Preheat the Oven: Set your oven to 350°F (175°C) and grease a round cake pan with butter or ghee.
- 2Prepare the Batter: In a mixing bowl, whisk the eggs, melted butter, cream cheese, and vanilla extract (if using) until smooth and well-combined. For a chocolate version, sift in the cocoa powder and whisk until incorporated.
- 3Pour into the Pan: Pour the batter into the prepared cake pan and smooth the top with a spatula.
- 4Bake: Place the pan in the oven and bake for 20–25 minutes, or until the center is set and a toothpick comes out clean.
- 5Cool and Decorate: Let the cake cool entirely before carefully taking it out of the pan and decorating as desired. Decorate with whipped cream or a thin layer of butter for a frosting effect.
Pro Tip: Add a layer of no-bake cheesecake pudding (recipe #4) between two cake layers for a decadent treat.
15. Easy Carnivore Jello Cream Bars
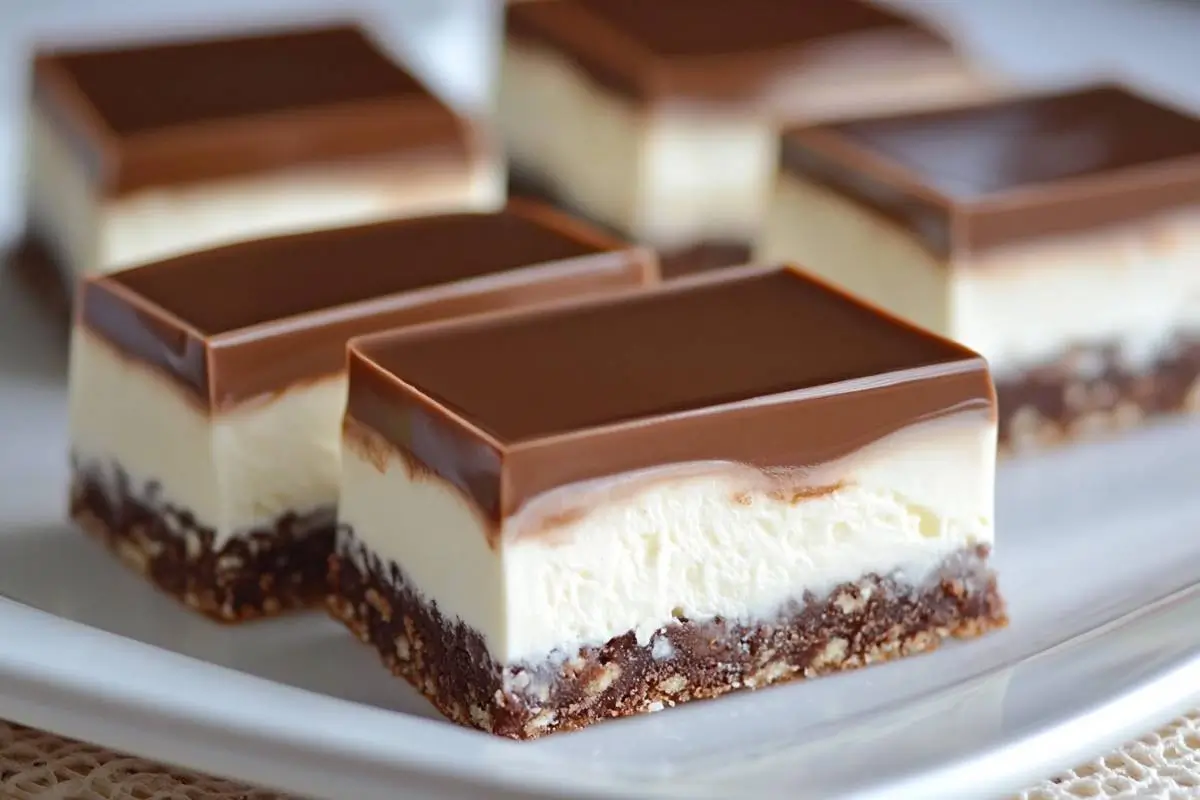
These jello cream bars are a fun, layered dessert combining the lightness of gelatin with the richness of heavy cream.
Ingredients:
How to Make:
- 1Prepare the Gelatin Base: Heat the bone broth or water in a saucepan over low heat. Gradually whisk in the gelatin powder until fully dissolved. Remove from heat and let cool slightly.
- 2Create the Cream Layer: In a separate bowl, mix the heavy whipping cream, melted butter, and optional vanilla extract or sweetener.
- 3Layer the Dessert: Pour half of the gelatin mixture into a square baking dish and refrigerate until partially set (about 30 minutes). Gently pour the cream mixture on top, then refrigerate for another 30 minutes. Finally, pour the remaining gelatin mixture on top to create the final layer.
- 4Chill Completely: Refrigerate for 4–6 hours or overnight to ensure all layers are set.
- 5Cut into Bars: Use a sharp knife to slice the dessert into bars. Serve chilled.
Pro Tip: For a marbled effect, swirl the cream and gelatin layers together slightly before setting in the fridge.
16. Carnivore Custard Cups
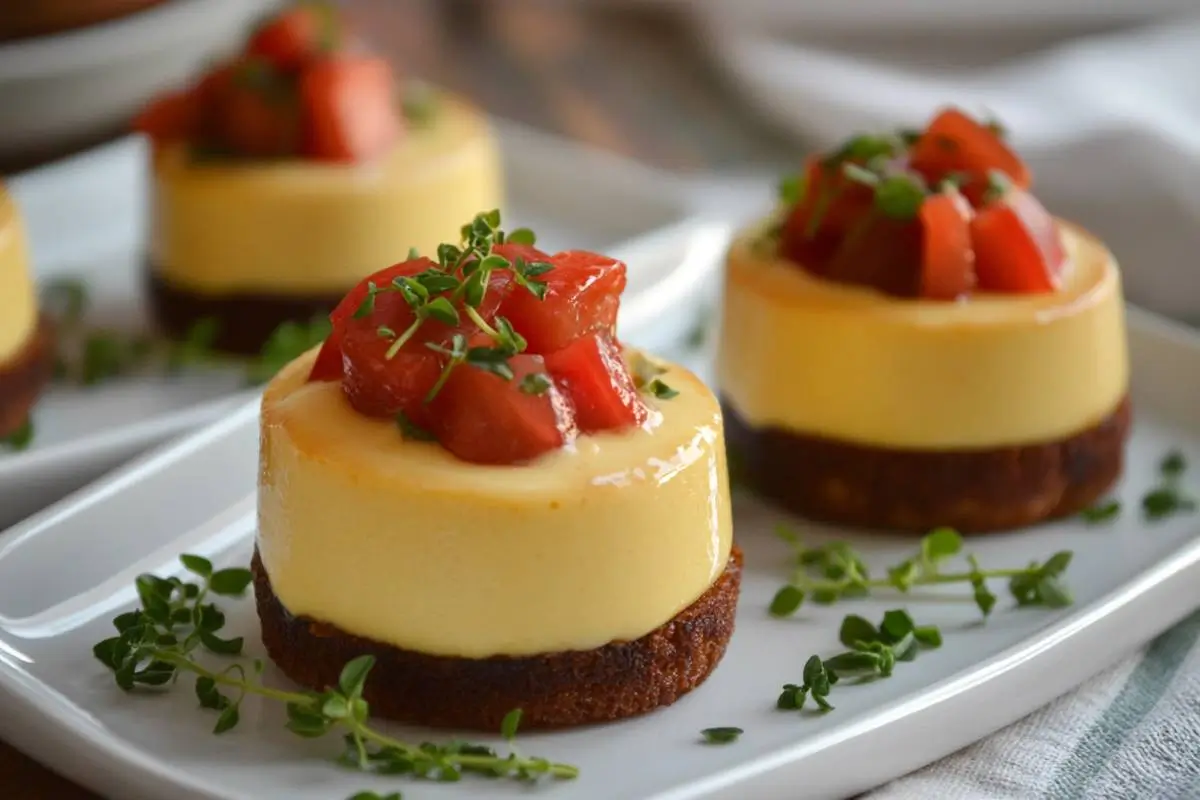
A silky, rich custard made with minimal ingredients, perfect for an indulgent, carnivore-approved dessert.
Ingredients:
How to Make:
- 1Preheat the Oven: Set your oven to 325°F (160°C) and prepare a water bath by filling a baking dish with 1–2 inches of hot water.
- 2Mix the Custard: In a medium bowl, whisk together the egg yolks, heavy whipping cream, melted butter, vanilla extract, and a pinch of sea salt until smooth.
- 3Pour into Ramekins: Divide the custard mixture evenly among 4 ramekins or oven-safe cups.
- 4Bake in a Water Bath: Place the ramekins in the water bath and carefully transfer the dish to the oven. Bake for 25–30 minutes or until the custard is set but still slightly jiggly in the center.
- 5Cool and Chill: Take the ramekins out of the water bath and let them cool completely at room temperature before chilling. Refrigerate for at least two hours before serving to enhance the texture and flavor.
- 6Serve: Enjoy plain, or top with a dollop of whipped cream for added decadence.
Pro Tip: Sprinkle with a pinch of cinnamon or nutmeg before baking for a warm, aromatic twist.
17. Carnivore Fat Bomb Bark
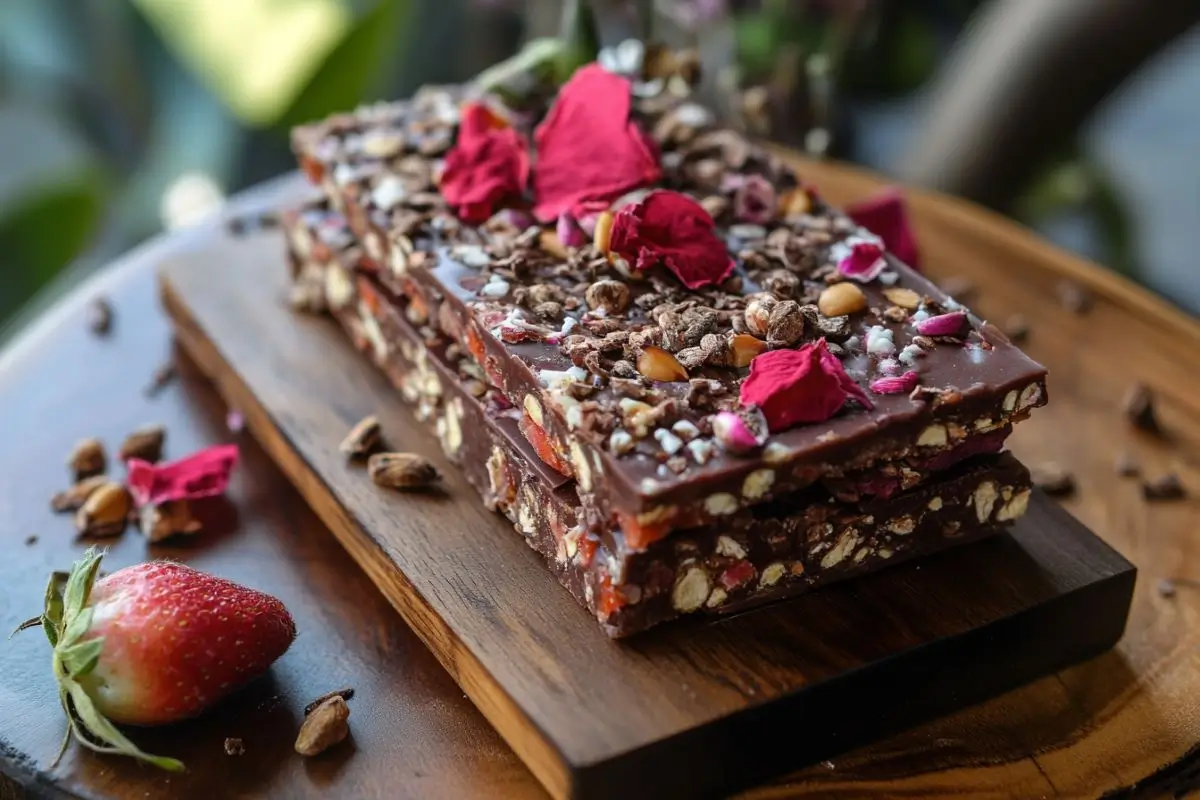
A versatile and easy-to-make dessert that combines the richness of butter and cream cheese with a satisfying crunch for a sweet yet filling treat.
Ingredients:
How to Make:
- 1Mix the Base: In a bowl, combine softened butter and cream cheese. Use a hand mixer or whisk to beat until smooth and fluffy. Add cocoa powder, vanilla extract, and sweetener (if using), and mix until fully combined.
- 2Spread the Mixture: Evenly spread the mixture onto a parchment-lined baking sheet to prevent sticking. Spread the butter mixture evenly over the paper, creating a thin, even layer.
- 3Add Toppings (Optional): Sprinkle with a pinch of sea salt or unsweetened shredded coconut for added texture and flavor.
- 4Freeze: Place the baking sheet in the freezer for 1–2 hours or until the bark is completely firm.
- 5Break into Pieces: Remove from the freezer and break the bark into bite-sized pieces. Store in an airtight container in the refrigerator or freezer.
Conclusion
Crafting delicious desserts while following a carnivore diet is not only possible but also incredibly satisfying.
By focusing on nutrient-dense, animal-based ingredients such as heavy cream, butter, and eggs, you can create indulgent treats that align perfectly with your dietary goals.
Whether you prefer a simple fat bomb, a creamy pudding, or a decadent cake, the recipes we've shared offer a variety of textures and flavors to satisfy every craving.
Remember, the key to success is using high-quality ingredients and experimenting with combinations that suit your taste.
With these carnivore dessert recipes in your arsenal, you'll never feel deprived of a sweet finish to your meals.
Stay creative, stay on track, and enjoy the journey toward better health—one delicious dessert at a time!
If you’re ready to explore more ideas or adapt traditional recipes to suit your carnivore lifestyle, let your culinary imagination run wild.
The possibilities are as endless as your creativity!
Recipe FAQs
Yes, you can! While the carnivore diet emphasizes animal-based foods, there are creative ways to craft desserts using ingredients like eggs, heavy cream, butter, and animal-derived products. These ingredients can be used to make custards, mousses, and even carnivore-style ice cream.
Traditional sweeteners like sugar or honey are not allowed on a strict carnivore diet. However, some people following a more lenient version of the diet may include low-carb sweeteners like stevia or monk fruit. Always check what fits within your dietary goals and preferences.
Most carnivore desserts are extremely low in carbs, as they avoid plant-based ingredients. The carbohydrate content comes mainly from naturally occurring traces in eggs or cream. Always check the nutritional label of ingredients to ensure they meet your carb goals.
Absolutely! Carnivore desserts are typically rich in fat and protein, making them highly satiating. A small portion can be quite satisfying compared to plant-based or carb-heavy desserts.
Yes, many carnivore desserts like custards, ice creams, and mousses can be made in advance and stored in the fridge or freezer. This makes them convenient for meal prep or entertaining.

