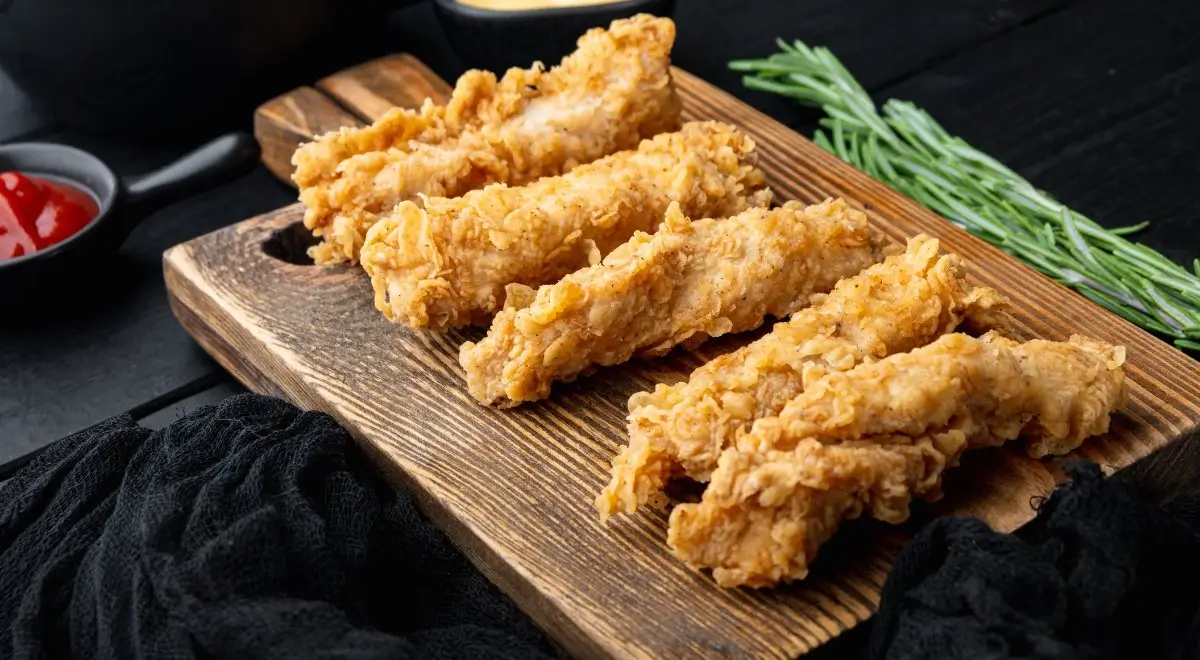
Looking for the ultimate chicken tenders recipe? This guide will show you how to make crispy, juicy chicken tenders that everyone will love. Perfect for family dinners, snacks, or parties, this recipe is easy to follow and packed with flavor.
Using simple ingredients and proven techniques, you’ll create tenders that rival your favorite restaurant’s version.
From choosing the right chicken cut to mastering the perfect breading, this chicken tenders recipe ensures success every time.
Let’s dive in and make the best chicken tenders you’ve ever had!
Let’s get started and make a batch of chicken tenders so good, you’ll never want takeout again!
What Are Chicken Tenders?
Chicken tenders, also known as chicken strips or fingers, are thin strips of meat cut from the tenderloin of the chicken breast. This part of the chicken is naturally juicy and flavorful, making it ideal for quick and easy recipes.
Unlike traditional fried chicken, which uses larger cuts, tenders cook faster and are perfect for dipping into your favorite sauces.
Whether you’re making them for a weeknight dinner or serving them as an appetizer for a party, their versatility and universal appeal make them a favorite across households.
The Appeal of Crispy, Juicy Chicken Tenders
There’s something undeniably satisfying about biting into a crispy, golden-brown chicken tender. The crunchy coating combined with the juicy interior creates a texture contrast that’s hard to beat.
Pair them with a side of fries or a fresh salad, and you’ve got a meal that hits all the right notes—comforting, delicious, and satisfying.
Homemade chicken tenders also allow you to control every aspect, from the seasoning to the type of oil used for frying. This means you can enjoy a restaurant-quality dish without the added preservatives or mystery ingredients.
A Brief History of Chicken Tenders
The origin of chicken tenders is often traced back to American diners and fast-food joints in the mid-20th century. As convenience foods gained popularity, chicken tenders emerged as a family-friendly option that was easy to eat and quick to prepare.
Over time, they’ve become a staple on menus across the country, evolving with endless variations and creative twists.
Today, chicken tenders aren’t just fast food—they’re a beloved homemade dish that you can customize to suit your taste and dietary preferences.
Whether baked, fried, or air-fried, their enduring appeal is a testament to their versatility and flavor.
Essential Ingredients for Perfect Chicken Tenders recipe
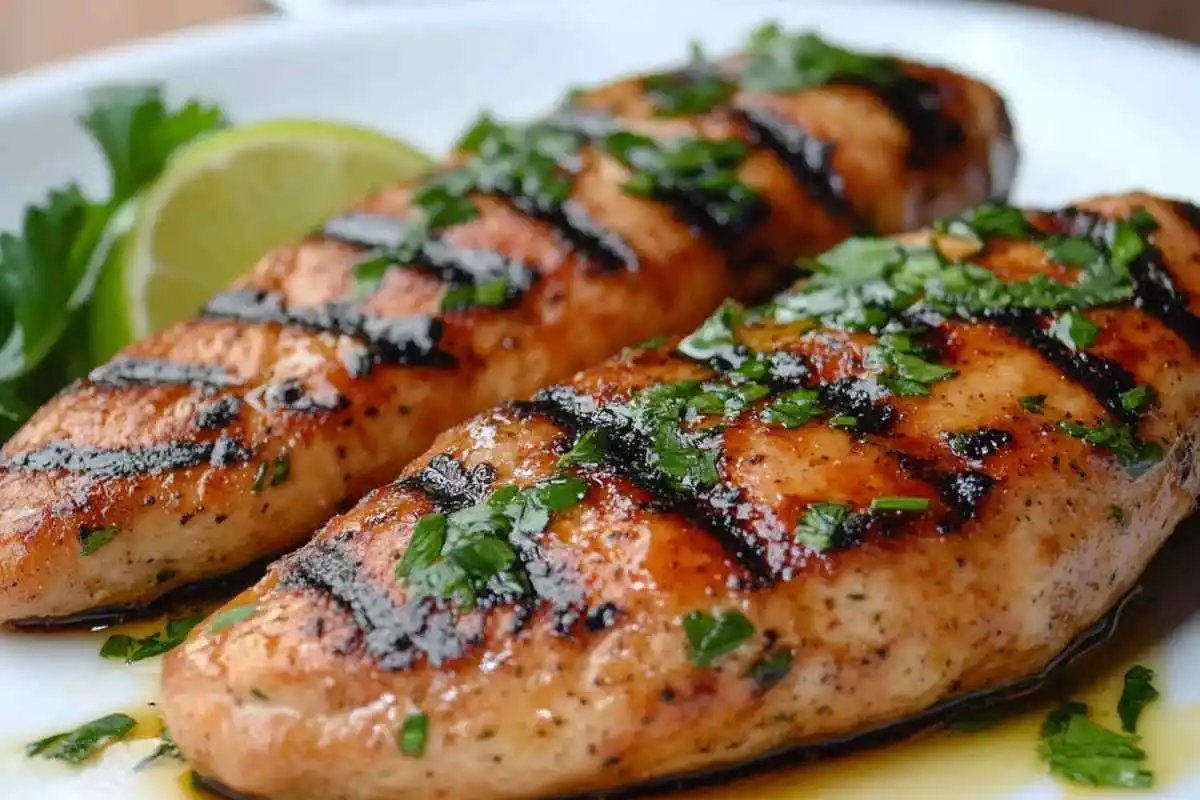
To make the ultimate chicken tenders, you’ll need a combination of fresh, high-quality ingredients. Here's what you'll need:
Choosing the Right Chicken Cut: Breast vs. Thigh
When making chicken tenders, both chicken breast and thigh cuts can work, but each brings a unique quality to the dish:
If you’re looking for a classic, clean-tasting tender, go with chicken breast. For juicier results with a deeper flavor, thighs are a great option.
Flavor-Boosting Ingredients
Elevate your chicken tenders with these optional add-ons:
Chicken Tenders Recipe Preparation Steps
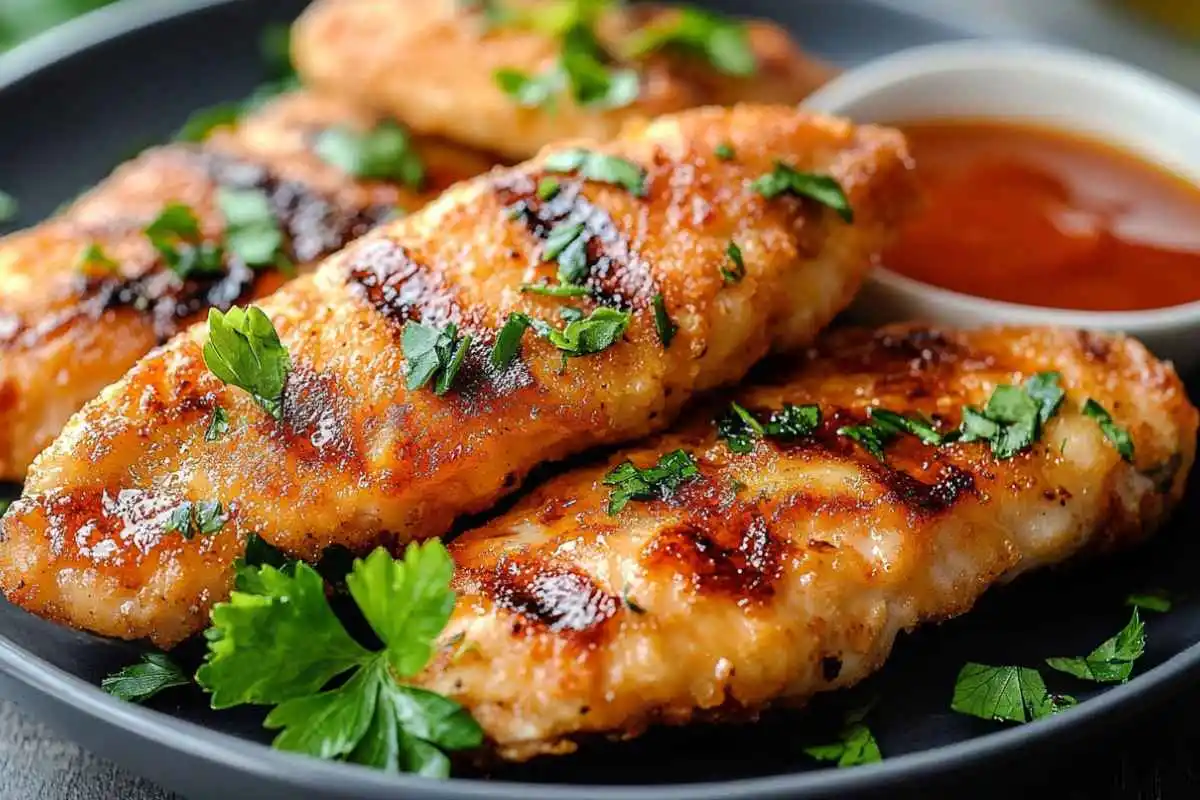
Step 1: Prepping the Chicken
Step 2: Marinating for Flavor and Tenderness
Marinating is the secret to juicy, flavorful chicken tenders. Follow these steps:
- 1Prepare the Marinade: Combine buttermilk, a teaspoon of salt, a teaspoon of paprika, and a pinch of cayenne pepper in a large bowl.
- 2Coat the Chicken: Add the chicken strips to the buttermilk mixture, ensuring they’re fully submerged.
- 3Place the chicken in a covered bowl and let it rest in the refrigerator for at least half an hour to allow flavors to develop and the coating to set properly. For the best results, marinate for up to 4 hours.
This step not only tenderizes the chicken but also infuses it with a subtle tangy flavor.
Step 3: Preparing the Breading Station
Set up a simple breading station to streamline the process:
- 1Flour Bowl: Mix flour, garlic powder, onion powder, paprika, and a pinch of salt in a shallow dish.
- 2Egg Wash: In another bowl, beat 2-3 eggs with a splash of water.
- 3Breadcrumb Mixture: In a third dish, combine breadcrumbs with optional flavor boosters like parmesan or dried herbs.
Pro Tip: Keep one hand for the wet ingredients (chicken and egg) and the other for the dry ingredients (flour and breadcrumbs). This prevents clumping and makes the process easier.
Step 4: Breading the Chicken
- 1Coat in Flour: Dredge each marinated chicken strip in the seasoned flour, shaking off any excess.
- 2Dip in Egg Wash: Submerge the floured chicken in the egg mixture, ensuring it’s fully coated.
- 3Finish with Breadcrumbs: Press the chicken into the breadcrumb mixture, covering it entirely.
For an extra crispy crust, repeat the egg wash and breadcrumb steps (double breading).
Chicken Tenders Recipe Breading Techniques
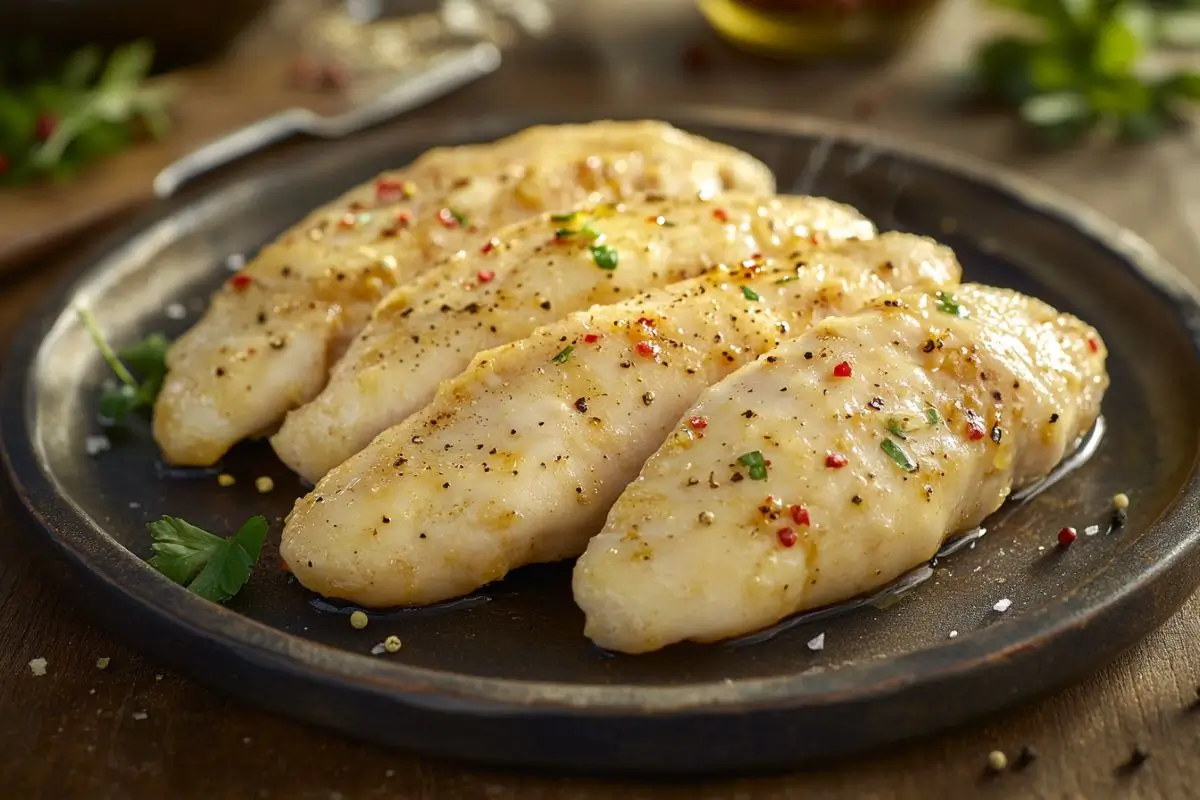
Traditional Breading Process: Flour, Egg, Breadcrumbs
The classic breading process is simple but effective, creating the crispy coating chicken tenders are known for:
- 1Step 1: FlourBegin by dredging each chicken strip in seasoned flour. This step dries the surface, helping the egg and breadcrumbs stick better.Tip: Add spices like paprika, garlic powder, or cayenne to the flour for extra flavor.
- 2Step 2: Egg Wash
Once the chicken is coated in flour, submerge it into a whisked egg mixture, making sure it’s fully covered before moving to the next step. The egg acts as a glue, ensuring the breadcrumbs adhere evenly.
- 3Step 3: BreadcrumbsCoat the chicken in breadcrumbs, pressing lightly to ensure an even, firm layer.Use regular breadcrumbs for a traditional texture or panko for added crunch.
Creative Coatings for Unique Flavors
Take your chicken tenders to the next level with these creative coating ideas:
For a healthier variation, try mixing breadcrumbs with ground oats or almond flour.
Tips for Ensuring Even and Crispy Coating
- 1Keep It Dry: Pat the chicken dry before breading to help the flour stick better.
- 2Avoid Overcrowding: Whether frying or baking, give each piece enough space to cook evenly.
- 3Double Coat for Extra Crunch: Repeat the egg wash and breadcrumb step for a thicker, crunchier crust.
- 4Press Firmly: Gently press the breadcrumbs onto the chicken to ensure they adhere well.
Chicken Tenders Recipe Cooking Methods
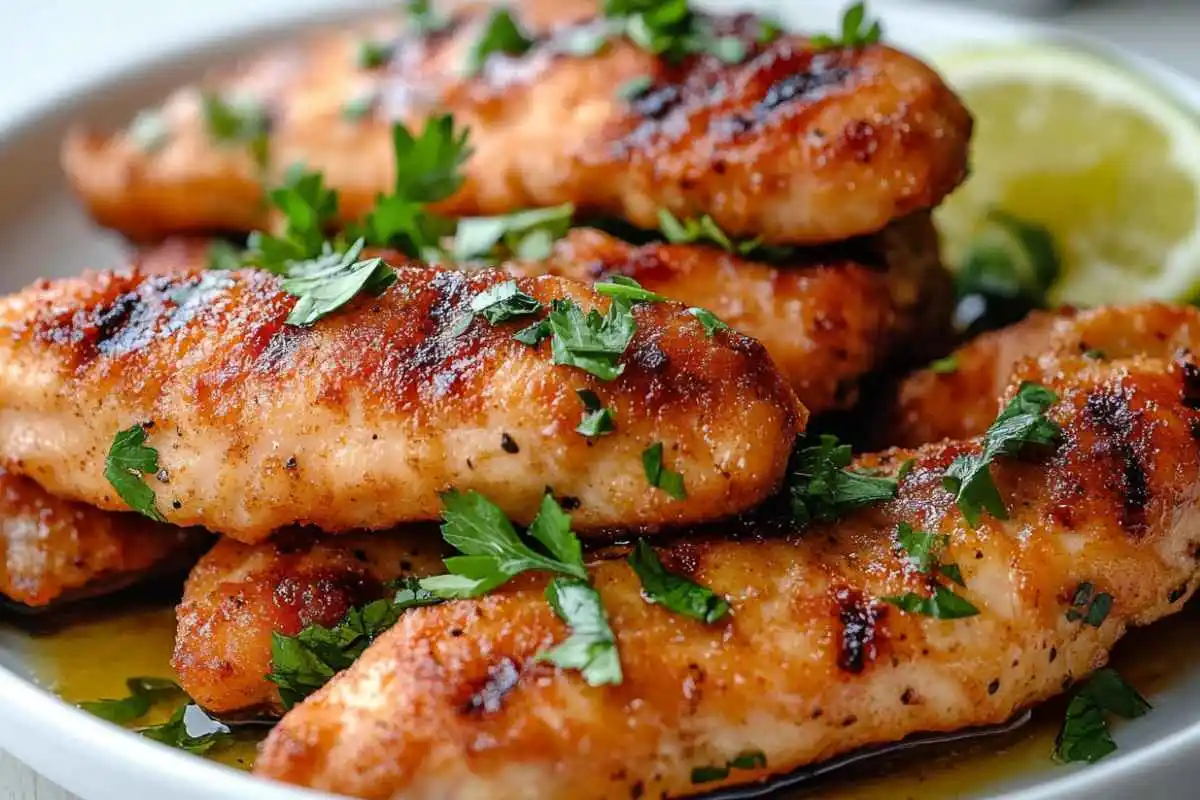
Deep-Frying Chicken Tenders
Deep-frying is the classic method for achieving perfectly crispy chicken tenders:
- 1Heat the Oil: Use a deep skillet or fryer and heat vegetable oil to 350°F (175°C).
- 2Cook in Batches: Carefully place a few breaded chicken strips into the hot oil, avoiding overcrowding.
- 3Fry Until Golden: Cook for 3-5 minutes per side or until the tenders are golden brown and the internal temperature reaches 165°F (74°C).
- 4Drain Excess Oil: Place cooked tenders on a wire rack or paper towels to drain any excess oil.
Pro Tip: Monitor the oil temperature between batches to maintain consistent cooking.
Air Fryer Chicken Tenders
For a healthier alternative, the air fryer delivers crispy results without excess oil:
- 1Preheat the Air Fryer: Set it to 375°F (190°C).
- 2Arrange Chicken Strips: Place breaded chicken tenders in a single layer in the basket, leaving space between each piece.
- 3Cook: Air fry for 10-12 minutes, flipping halfway through.
- 4Check Doneness: Ensure the internal temperature reaches 165°F (74°C).
Pro Tip: Lightly spray the tenders with cooking oil before air frying to enhance the crispiness.
Oven-Baked Chicken Tenders
Baking is a great way to make chicken tenders with minimal oil:
- 1Preheat the Oven: Set it to 400°F (200°C).
- 2Prepare the Baking Sheet: Line a baking sheet with parchment paper and lightly coat it with cooking spray.
- 3Arrange the Tenders: Place breaded chicken strips on the sheet, spacing them evenly.
- 4Bake: the chicken for about 20 to 25 minutes, making sure to turn it over halfway through so both sides cook evenly and develop a nice golden-brown color.
- 5Crisp Up (Optional): Broil for 1-2 minutes at the end for extra crispiness.
Pro Tip: Use a wire rack on the baking sheet for better air circulation and a crispier texture.
How to Keep Chicken Tenders Juicy Inside
Achieving juicy chicken tenders is all about technique:
- 1Marinate Properly: The buttermilk marinade tenderizes the chicken and locks in moisture.
- 2Do Not Overcook: Use a meat thermometer to ensure the internal temperature reaches exactly 165°F (74°C). Cooking beyond this can dry out the meat.
- 3Cut Even Strips: Uniform sizes ensure even cooking, preventing some pieces from drying out.
Avoiding Common Mistakes: Soggy or Overcooked Tenders
- 1Overcrowding the Pan: Too many tenders at once can lower the oil temperature, resulting in soggy breading. Fry or bake in small batches for best results.
- 2Skipping the Rest: Allow the tenders to rest for a minute or two after cooking. This helps the coating set and stay crispy.
- 3Oil Temperature Fluctuations: Use a thermometer to maintain the correct frying temperature (around 350°F/175°C).
The Role of Double Breading for Extra Crunch
Double breading is the secret to an irresistibly crispy exterior:
- 1Second Dip: After the first layer of breadcrumbs, dip the chicken back into the egg wash and coat again with breadcrumbs.
- 2Press Firmly: Ensure the second layer adheres well by pressing the coating onto the chicken.
- 3Shake Off Excess: Lightly shake each tender to remove loose crumbs that could burn during cooking.
The result is a perfectly golden, extra-crunchy coating that stays intact with every bite.
Classic Pairings: Ranch, Honey Mustard, and BBQ
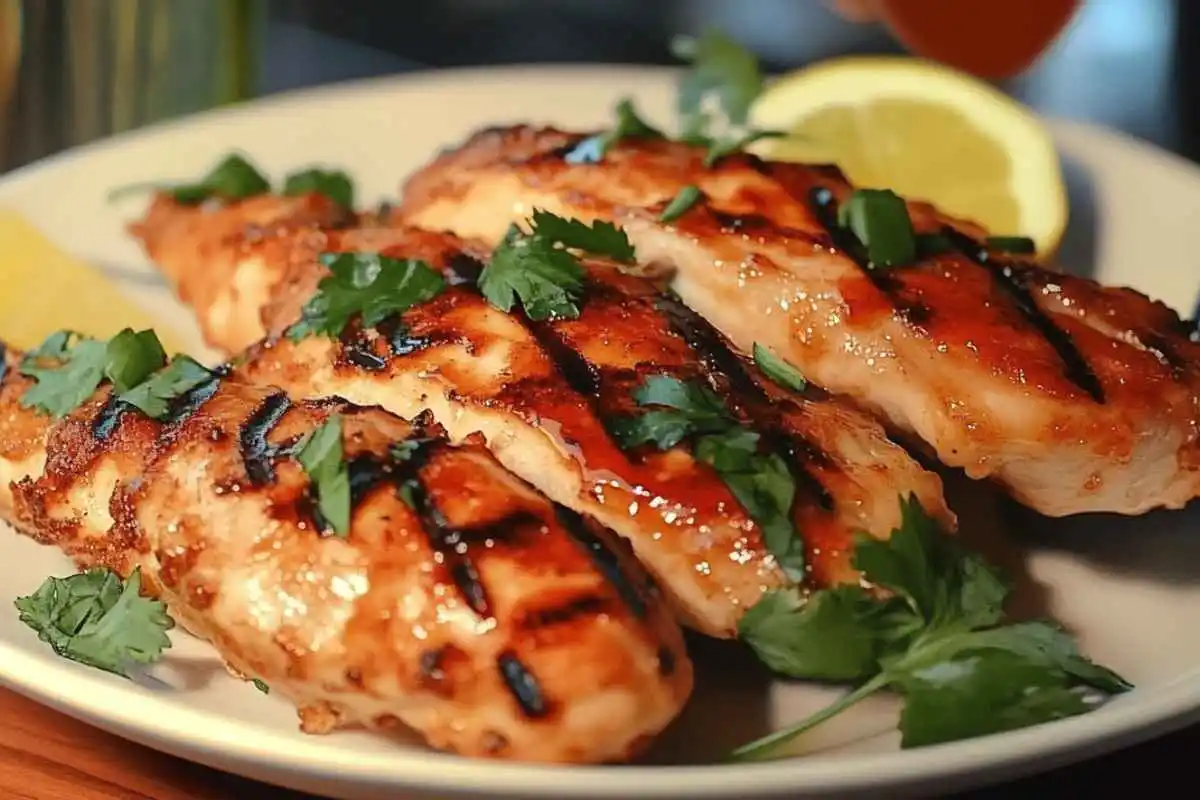
Chicken tenders are even better when paired with classic dipping sauces that enhance their flavor:
- 1Ranch Dressing: The cool, creamy tang of ranch complements the crispy tenders perfectly.
- 2Honey Mustard: A balance of sweet and tangy, honey mustard is a timeless favorite.
- 3BBQ Sauce: Smoky and slightly sweet, this sauce is perfect for those who love bold flavors.
Homemade Dipping Sauces: Recipes and Tips
Elevate your chicken tenders with homemade sauces that are quick and easy to make:
- 1Garlic Aioli:Directions: Mix all ingredients until smooth and creamy.
- 2Spicy Sriracha Mayo:Directions: Blend for a spicy, zesty dip.
- 3Honey Garlic Sauce:Directions: Simmer the ingredients in a small saucepan until thickened.
Pro Tip: Store homemade sauces in airtight containers in the fridge for up to a week.
Spicy, Sweet, and Unique Sauces to Try
If you’re feeling adventurous, try these unique sauce options:
These sauces not only complement your tenders but also add variety to your meal.
Chicken Tenders Recipe Serving Suggestions
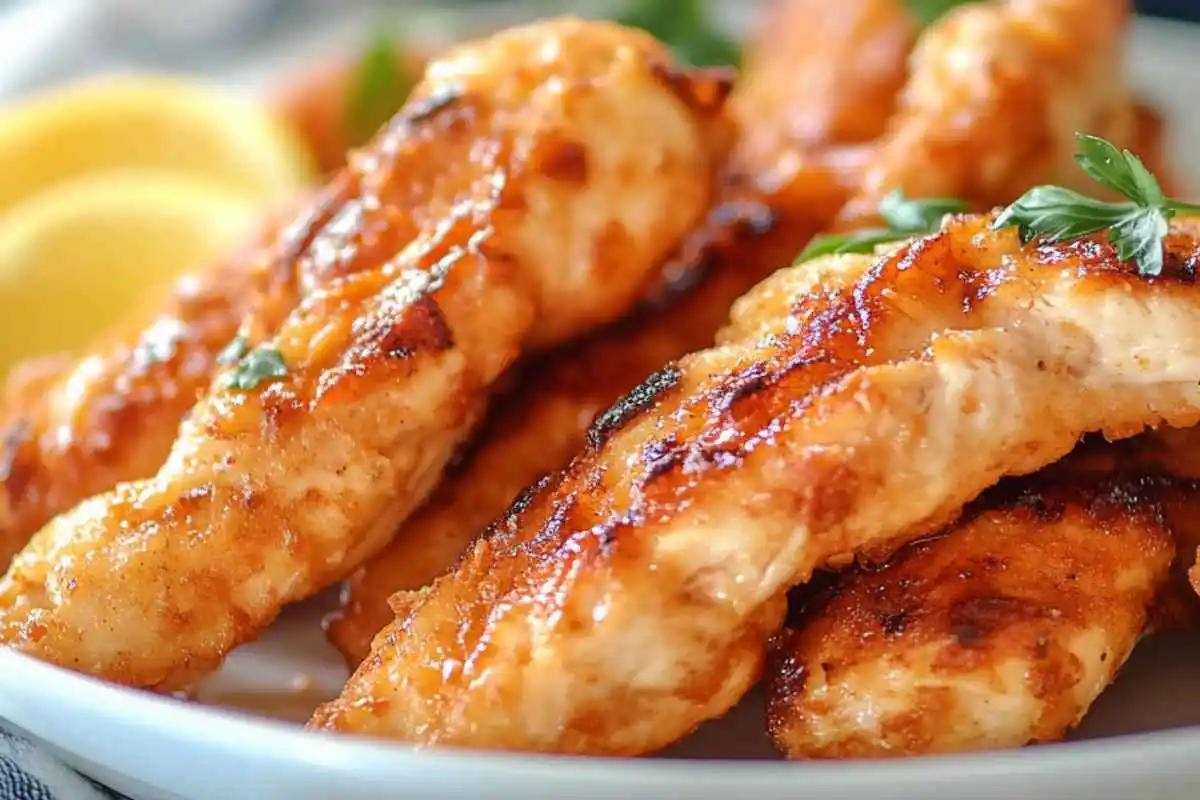
Perfect Side Dishes: Fries, Coleslaw, and More
Chicken tenders shine even brighter when paired with the right side dishes. Here are some classic and creative ideas:
How to Serve Chicken Tenders for Family Dinners
For family meals, presentation and simplicity go a long way:
Party Presentation: Skewers and Platters
Chicken tenders can easily be dressed up for parties or gatherings:
Pro Tip: Add garnishes like parsley sprigs or lemon wedges to elevate the presentation.
Baking vs. Frying: Which Is Healthier?
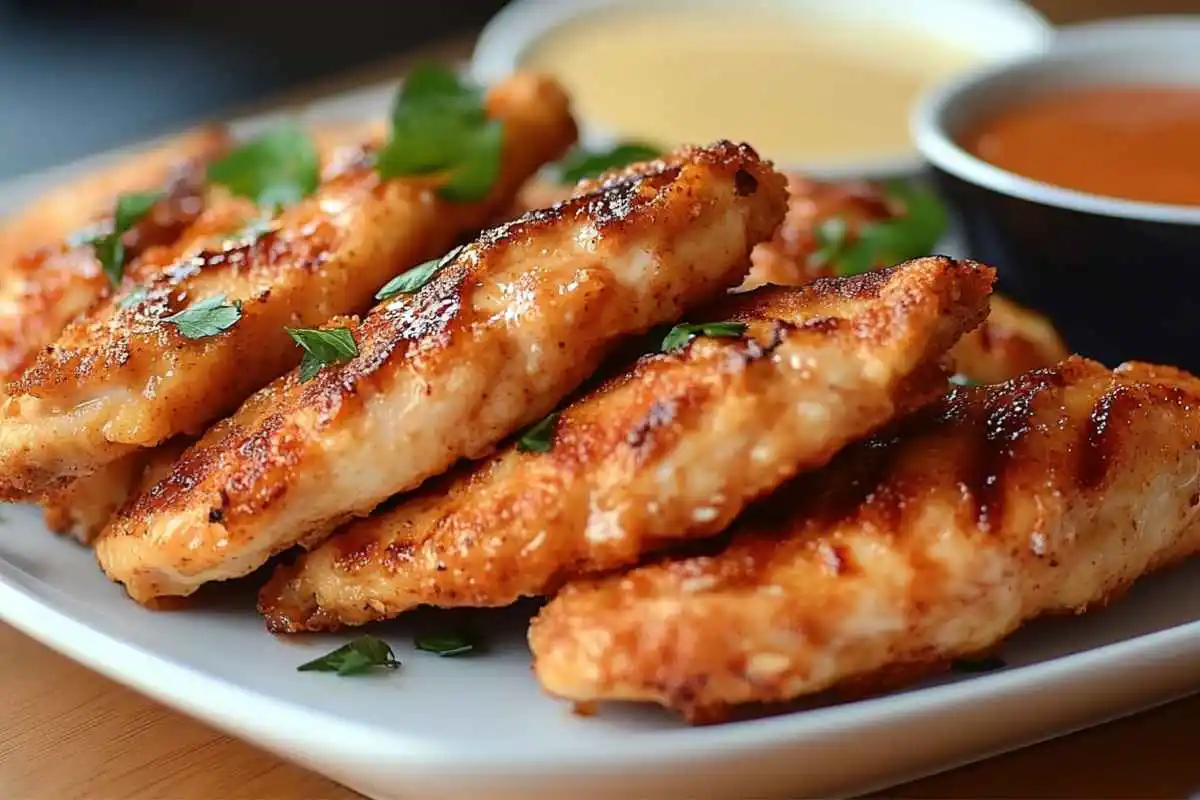
When it comes to making healthier chicken tenders, the cooking method matters:
If you’re looking for a guilt-free option, baking or air frying is the way to go.
Using Air Fryers for Lower-Calorie Tenders
Air fryers are a game-changer for health-conscious cooks:
Pro Tip: Preheat the air fryer for best results and avoid overcrowding the basket.
Tips for Reducing Oil and Fat Content
Even when frying, you can make small adjustments to keep things lighter:
- 1Use a Draining Rack: After frying, let the tenders rest on a wire rack instead of paper towels to avoid reabsorbing oil.
- 2Choose Healthier Oils: Use oils with lower saturated fat, such as avocado or canola oil.
- 3Try Partial Frying: Fry briefly to crisp up the coating, then finish cooking in the oven.
For those looking to skip oil altogether, baking and air frying are your best friends.
Nutritional Information (Per 100g)
Here’s the approximate nutritional breakdown for homemade chicken tenders:
Note: Nutritional values may vary depending on the ingredients and cooking method. For example, baking or air frying will reduce fat content compared to deep frying.
How to Properly Store Leftover Chicken Tenders
Storing chicken tenders the right way keeps them fresh and delicious for later:
- 1Cool Completely: Allow the tenders to cool to room temperature before storing.
- 2Use Airtight Containers: Place them in a container or resealable plastic bag to prevent air exposure.
- 3Refrigerate: place the cooked chicken in an airtight container and keep it in the refrigerator for up to four days to maintain freshness.
Pro Tip: Layer tenders with parchment paper to prevent them from sticking together.
Best Methods for Reheating Without Losing Crispiness
To enjoy your chicken tenders as if they were freshly made, follow these reheating tips:
- 1Oven Method:Bake for 10-12 minutes until heated through and crispy.
- 2Air Fryer Method:Reheat tenders for 4-6 minutes, flipping halfway through.
- 3Avoid the Microwave:
Can You Freeze Chicken Tenders? Tips and Tricks
Freezing chicken tenders is a great way to enjoy them later:
- 1Freeze Individually: Place cooked tenders on a baking sheet and freeze until solid, then transfer them to a freezer bag or container.
- 2Label and Store: Mark the date and store in the freezer for up to 3 months.
- 3Reheat from Frozen: Use the oven or air fryer at 375°F (190°C) for 15-20 minutes.
Pro Tip: If you plan to freeze tenders, undercook them slightly before freezing. This prevents overcooking during reheating.
Making Chicken Tenders Kid-Friendly: Shapes and Sizes
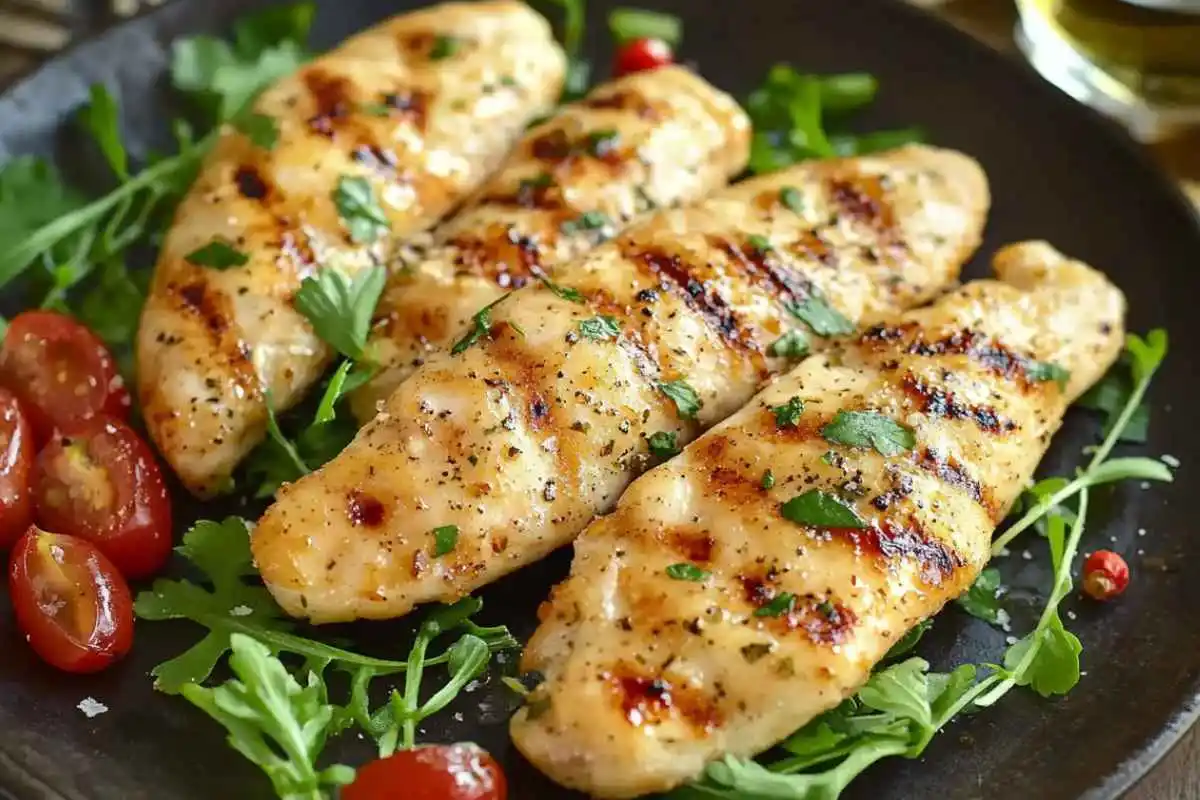
Kids love fun and bite-sized foods, so here are a few ideas to make chicken tenders more appealing:
- 1Mini Tenders: Cut the chicken into smaller strips, perfect for tiny hands.
- 2Fun Shapes: Use cookie cutters to create star, heart, or animal-shaped tenders for added excitement.
- 3Dipping Fun: Serve with multiple dipping sauces to let kids explore their favorites.
Pro Tip: Keep the seasoning mild for younger kids who prefer simple flavors.
Healthier Ingredients for Picky Eaters
For parents looking to balance taste and nutrition, here are some ingredient swaps:
These small adjustments make chicken tenders a guilt-free option for kids.
Fun Dipping Sauces for Children
Kids love variety, so offer a selection of kid-approved sauces:
Pro Tip: Let kids mix and match sauces to make mealtime interactive and fun.
The Evolution of Chicken Tenders in Fast Food
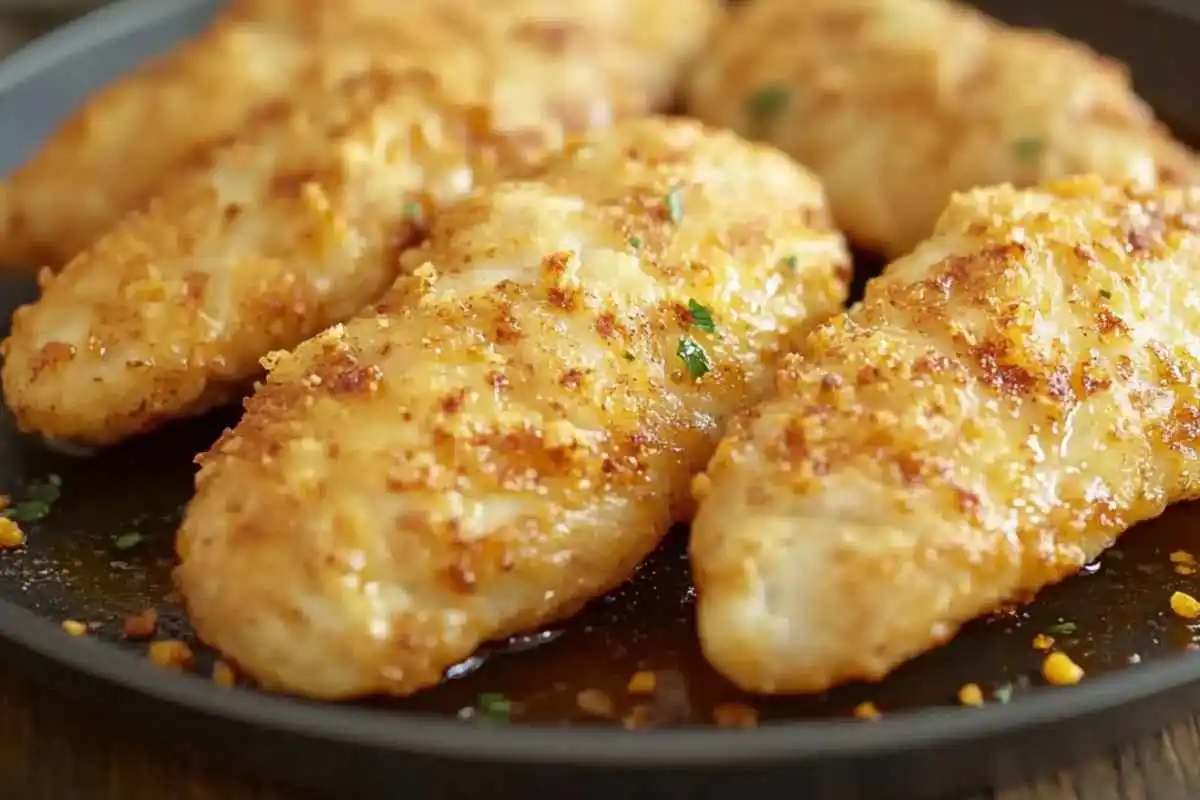
Chicken tenders have long been a staple of American fast food culture, and their journey is fascinating:
- 1The Beginning: Introduced in the mid-20th century, chicken tenders quickly became a favorite for their simplicity and universal appeal.
- 2Fast Food Giants: Chains like McDonald’s, KFC, and Chick-fil-A popularized chicken tenders, offering unique twists on the classic recipe.
- 3Modern Appeal: Today, chicken tenders are featured in everything from gourmet dishes to quick grab-and-go meals, cementing their place as a beloved comfort food.
Famous Chains Known for Chicken Tenders
Some fast food and casual dining chains have become synonymous with chicken tenders:
Each chain has its unique recipe and style, but the love for chicken tenders remains universal.
Chicken Tenders Around the World: Regional Twists
While chicken tenders are a quintessential American dish, other countries have their own versions:
These regional adaptations showcase the versatility of chicken tenders and their global popularity.
How to Improve the Breaded Coating
A perfect coating is key to great chicken tenders. Here’s how to achieve it:
Tips for Perfecting Frying Temperature and Timing
Getting the frying process right is essential:
- 1Monitor Oil Temperature:Use a kitchen thermometer to keep the oil at 350°F (175°C). Too low, and the coating absorbs oil; too high, and it burns.
- 2Cook in Batches:Overcrowding cools the oil, leading to uneven cooking. Fry 3-4 tenders at a time for best results.
- 3Timing:Fry each side for 3-5 minutes until golden brown. Always check that the internal temperature is 165°F (74°C).
Pro Tip: If you don’t have a thermometer, test the oil by dropping a small breadcrumb in. To test if the oil is hot enough, drop a small piece of batter into it—if it sizzles and floats to the top without burning, the temperature is just right.
Conclusion
Making the perfect chicken tenders at home doesn’t have to be complicated. By following these easy steps, you can achieve crispy, golden tenders with a juicy interior that rival your favorite restaurant’s version.
From selecting the right chicken cut to mastering breading techniques and experimenting with creative sauces, you now have everything you need to create a winning dish.
Whether you’re frying, baking, or air frying, the secret to success lies in attention to detail and a willingness to customize the recipe to suit your taste. Don’t forget to pair your tenders with the perfect side dishes and dips to elevate the experience.
Now it’s your turn! Try this recipe, make it your own, and share it with your family and friends. Who knows? Your homemade chicken tenders might just become the next big hit at your table.
chicken tenders Recipes FAQs
Double coat the chicken by repeating the egg wash and breadcrumb steps. Using panko breadcrumbs also helps achieve a crunchier texture.
Absolutely! Baking is a healthier option. Preheat your oven to 400°F (200°C) and bake the tenders for 20-25 minutes, flipping halfway through.
Classic options include ranch, honey mustard, and BBQ sauce. For unique flavors, try garlic aioli, sweet chili sauce, or spicy sriracha mayo.
Place them in an airtight container and refrigerate for up to 3-4 days. For longer storage, freeze them using the tips provided in the article.
Use an oven or air fryer to maintain crispiness. Avoid microwaving as it tends to make the coating soggy.

