What’s better than a quick, flavor-packed meal the whole family will love? This Soy Garlic Chicken recipe delivers just that! With the perfect blend of sweet, savory, and garlicky goodness, this dish will become your go-to for busy weeknights or when you’re craving something deliciously satisfying.
In only half an hour, you can whip up a batch of irresistibly juicy chicken glazed with a rich, flavorful soy garlic sauce.
The best part?
You only need simple, everyday ingredients that you probably already have in your kitchen. Whether you use chicken thighs, wings, drumsticks, or breasts, this recipe is completely customizable to suit your taste.
Get ready to add a new family favorite to your dinner rotation.
Let’s dive into this quick and easy recipe that will have everyone asking for seconds!
Why You’ll Love This Soy Garlic Chicken
This Soy Garlic Chicken recipe is a winner for so many reasons.
Here’s why it will quickly become a regular on your dinner table:
Perfect Balance of Sweet, Savory, and Garlicky Flavors
The magic of this recipe lies in its sauce. It’s a beautiful blend of salty soy sauce, sweet honey or brown sugar, and aromatic garlic that creates a flavor explosion in every bite. Add a hint of optional ginger for warmth, and you have a sauce that’s sticky, rich, and incredibly satisfying. It’s the perfect mix of flavors that’s neither too sweet nor too salty—just right.
Pro Tip: For an extra punch, use freshly minced garlic instead of store-bought paste. It makes all the difference!
Ready in 30 Minutes – Perfect for Busy Weeknights
We all know the struggle: You want something tasty, but you’re short on time. This recipe saves the day!
It’s quick, easy, and doesn’t skimp on flavor—ideal for those hectic weeknights when time is precious, but dinner still needs to be special.
Uses Simple, Accessible Ingredients Found in Most Kitchens
No need to run to a specialty store for this recipe! You probably have all the ingredients already in your pantry. Here’s a quick rundown:
These pantry staples come together effortlessly to create something extraordinary.
Customizable: Works with Any Chicken Cut
The beauty of this recipe lies in its versatility. Whether you prefer dark meat or white meat, you can make it work perfectly:
You can even mix and match! This glossy, flavor-packed soy garlic sauce complements any chicken cut perfectly.
Crowd-Pleaser for the Whole Family
From kids to adults, everyone will love this dish. It’s flavorful without being too spicy or overwhelming. Serve it with steamed rice or veggies, and you’ve got a complete, balanced meal that satisfies all ages.
This recipe checks all the boxes:
Ready to make this weeknight superstar? Let’s take a closer look at the ingredients you’ll need to bring this dish to life!
Ingredients You’ll Need for Soy Garlic Chicken
Before we jump into cooking, let’s gather everything you’ll need.
These simple, everyday ingredients come together to create a restaurant-quality dish right in your kitchen!
For the Chicken
The foundation of this dish is tender, juicy chicken with a crispy coating. Here’s what you’ll need:
For the Soy Garlic Sauce
This irresistible sauce is the star of the show. It’s sticky, sweet, and savory with a rich garlicky kick. Here’s what you need to make it shine:
Ingredient Substitutions
If you’re missing something, don’t worry! Here are a few easy swaps:
Quick Shopping List
For an easy grocery run, here’s your streamlined shopping list:
Once you’ve got these ingredients ready, you’re all set to create this sticky, savory masterpiece.
How to Make Soy Garlic Chicken
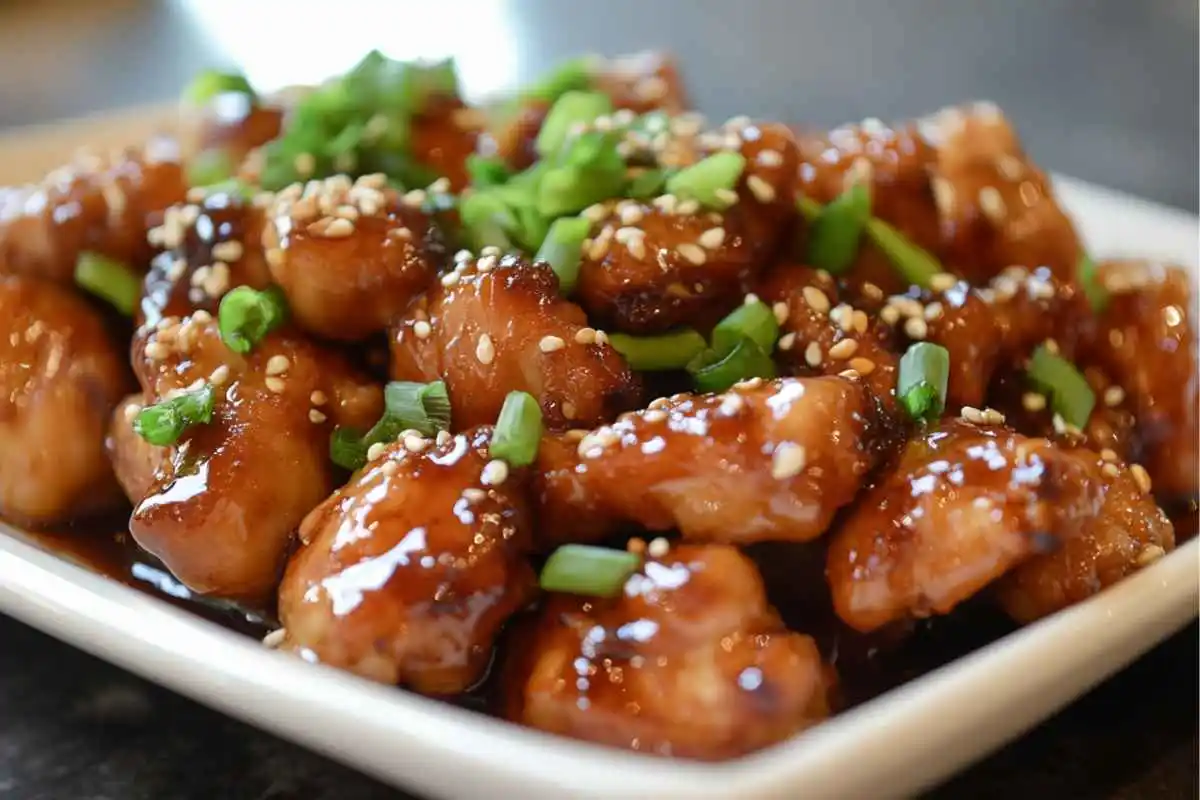
Now that you have all your ingredients ready, it’s time to turn them into a sticky, flavorful masterpiece.
With these easy-to-follow steps, you’ll achieve crispy, succulent chicken drenched in a mouthwatering soy garlic glaze.
Step 1: Prepare the Chicken
Start by getting the chicken ready for that irresistible crispy texture:
- 1Season the chicken –
Pat the chicken dry using a paper towel to remove excess moisture (this helps it get crispy). Lightly season it with salt and black pepper on both sides. - 2Coat lightly in cornstarch –
Place the chicken in a bowl and sprinkle it with a light layer of cornstarch. Use your hands or tongs to toss the chicken until evenly coated. This cornstarch coating creates a beautiful golden crust when cooked.
Why cornstarch?
Cornstarch absorbs moisture from the surface of the chicken, ensuring a light, crispy coating without the need for deep-frying.
Step 2: Fry or Sear the Chicken
You can achieve crispy chicken without deep-frying by pan-frying it in a skillet.
Here’s how:
- 1Heat the oil –
In a large skillet or pan, heat about 2 tablespoons of neutral oil (like canola or avocado oil) over medium heat. Ensure the oil is hot before adding the chicken to avoid sticking. - 2Cook the chicken –
Place the chicken pieces into the skillet, making sure not to overcrowd the pan. Cook for 6–8 minutes on one side until golden and crispy, then flip and cook the other side for another 6–8 minutes. For bone-in cuts: Add an extra 2–3 minutes per side to ensure the chicken is fully cooked. For wings: Fry for about 5–6 minutes per side until crispy. - 3Check for doneness –
The chicken is ready when it’s golden brown on the outside and the internal temperature reaches 165°F (use a meat thermometer to check). - 4Set aside –
Transfer the cooked chicken to a plate lined with paper towels to drain any excess oil.
Pro Tip: For ultra-crispy chicken, fry it twice! Cook it for 5 minutes, remove it from the skillet, let it rest, and then fry it again for another 2–3 minutes.
Step 3: Make the Soy Garlic Sauce
While the chicken rests, it’s time to prepare the star of the dish—the sticky, garlicky soy sauce.
- 1Combine the ingredients –In a small bowl, mix together:¼ cup soy sauce. 3–4 cloves garlic, finely minced. 2 tablespoons honey or brown sugar. 1 tablespoon mirin or rice vinegar. 1 teaspoon sesame oil. 1 teaspoon grated ginger (optional for added warmth)
- 2Simmer the sauce –
Heat a clean skillet or saucepan over medium-low heat. Pour in the sauce mixture and stir constantly to prevent burning. - 3Thicken with cornstarch slurry –
Mix 1 teaspoon of cornstarch with 2 teaspoons of water to make a slurry. Gradually stir it into the sauce and simmer until the sauce thickens slightly and coats the back of a spoon. This should take about 2–3 minutes.
Watch for the perfect consistency:
The sauce should be thick, sticky, and glossy—ready to cling beautifully to your chicken.
Step 4: Toss and Serve
Now for the best part—bringing it all together:
- 1Coat the chicken –
Add the crispy chicken to the skillet with the sauce. Use a spatula or tongs to gently toss the chicken until it’s fully coated in the sticky soy garlic sauce. - 2Serve immediately –
Transfer the chicken to a serving plate, spooning any extra sauce over the top. - 3Garnish for extra flair –
Sprinkle toasted sesame seeds and freshly chopped scallions over the chicken for added flavor and presentation.
Serving Suggestions
This sticky soy garlic chicken is best enjoyed fresh and hot. Serve it with:
Pro Tip: Pair with a side of kimchi or pickled cucumbers for a refreshing contrast to the savory sweetness of the chicken.
Now you’re ready to enjoy a restaurant-worthy meal right at home. The combination of crispy chicken and sticky soy garlic sauce is nothing short of addictive!
Tips for the Best Soy Garlic Chicken
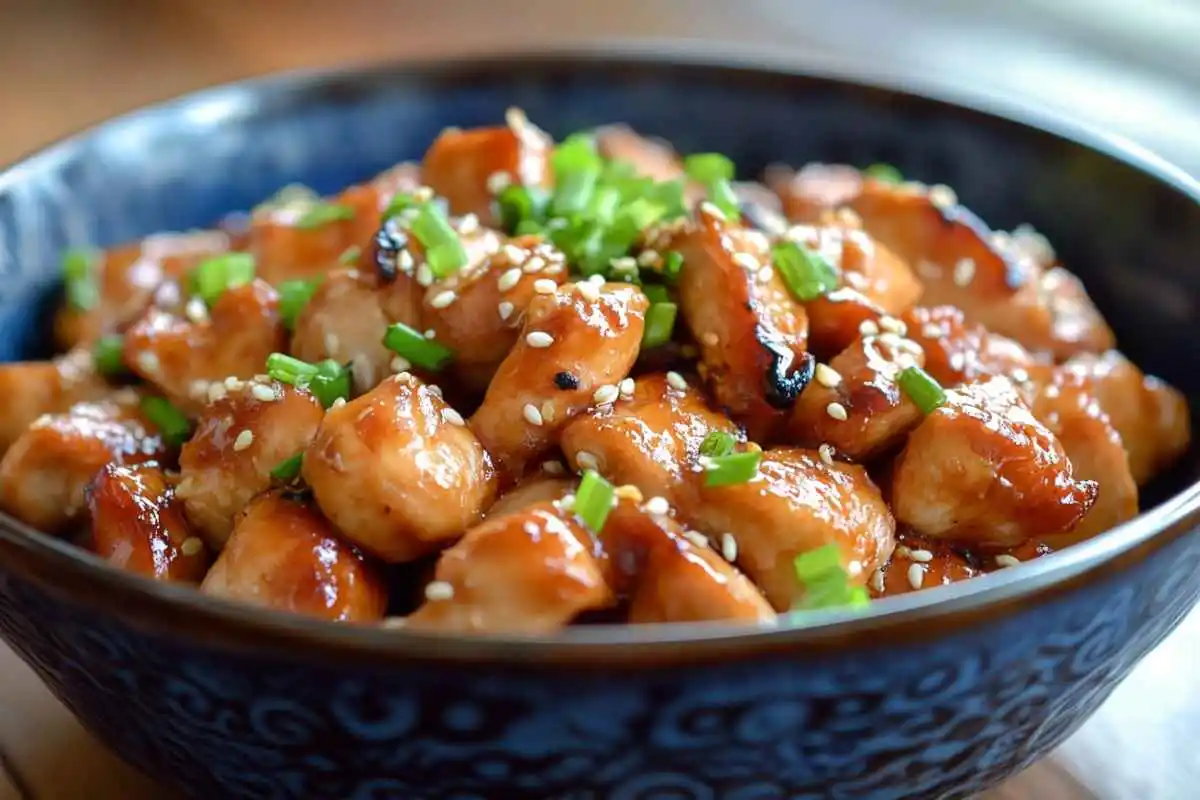
Want to take your Soy Garlic Chicken to the next level? Here are some expert tips to help you get crispy, juicy chicken and perfectly thickened sauce every single time.
Choosing the Right Chicken
The type of chicken you choose can make all the difference. Here’s how to decide:
Pro Tip: For the best texture and flavor, avoid overcooking chicken breasts. Remove them as soon as they reach an internal temperature of 165°F.
Achieving the Perfect Sauce
The sauce is the heart of this recipe, and getting it just right makes all the difference.
- 1Simmer Slowly –
Heat the sauce over medium-low to avoid burning the garlic or caramelizing the sugars too quickly. This allows the flavors to meld together beautifully. - 2Cornstarch Slurry Is Key –
The cornstarch slurry ensures the sauce thickens to a glossy, sticky consistency. Always mix the slurry separately before adding it to the sauce to avoid clumps. - 3Coat the Back of a Spoon –
A perfect sauce consistency should lightly coat the back of a spoon without running off. If it’s too thin, simmer for another minute or add a tiny bit more slurry. - 4Taste and Adjust –Too salty? Add a splash of water or a little extra honey.Too sweet? Add a tiny bit more soy sauce or rice vinegar.Need more depth? A touch of fresh ginger or sesame oil can enhance the flavor.
Extra Crispy Chicken
If you’re craving that restaurant-style crunch, here are a few pro tips to get extra crispy chicken:
- 1Double-Fry the Chicken –
For maximum crispiness, fry the chicken twice. Here’s how:First fry: Cook the chicken until lightly golden, then remove it from the pan and let it rest for 3–4 minutes.Second fry: Return the chicken to the pan and fry for another 2–3 minutes until deep golden brown and extra crispy. - 2Don’t Skip the Cornstarch –
Cornstarch is your secret weapon for light, crispy results without needing to deep-fry. Ensure each bite of chicken is thoroughly coated for maximum flavor in every mouthful. - 3Keep the Oil Hot –
Make sure your oil is hot enough before adding the chicken (about 350°F–375°F). If the oil isn’t hot, the chicken will soak up the oil and lose its crispiness. - 4Avoid Overcrowding the Pan –
Fry the chicken in batches so each piece cooks evenly and stays crispy. Overcrowding the pan can lower the oil temperature and make the chicken soggy.
Serving for Maximum Flavor
Once your chicken is cooked and tossed in the sauce, serve it immediately. The sauce is at its stickiest and most flavorful when it’s fresh off the heat.
Follow these tips, and your Soy Garlic Chicken will come out perfectly crispy, saucy, and packed with flavor every time.
Serving Suggestions for Soy Garlic Chicken
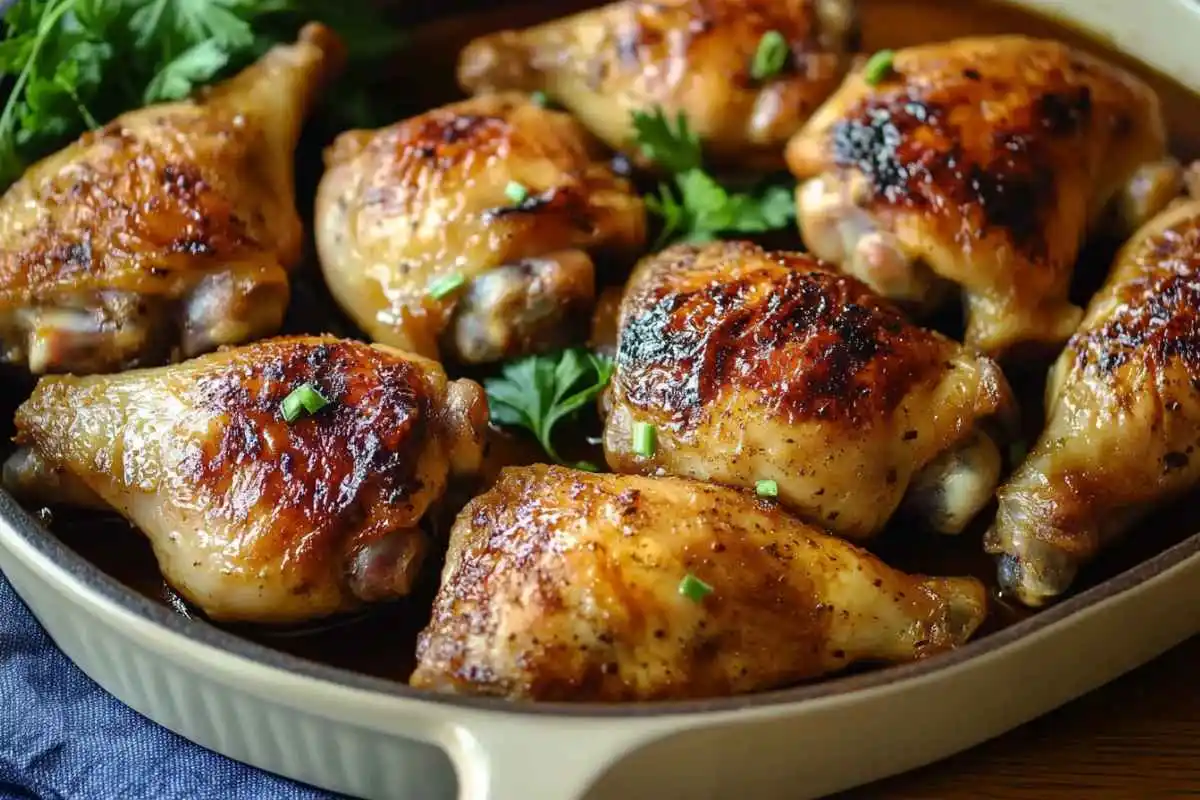
This soy garlic chicken is incredibly adaptable, making it the perfect match for a range of side dishes. Whether you’re looking for a hearty, comforting meal or something light and fresh, these serving ideas will take your dish to the next level.
1. Pair with Steamed Jasmine Rice
Nothing complements the sticky, savory soy garlic sauce like a bowl of perfectly steamed jasmine rice. The neutral flavor of the rice soaks up the sauce beautifully, giving you the perfect bite every time.
Low-Carb Option: Swap out regular rice for cauliflower rice for a lighter, low-carb alternative that still soaks up the sauce perfectly.
2. Add Some Greens
Balance the richness of the chicken with crisp, vibrant veggies:
3. Fresh Salads for Contrast
Add a refreshing crunch and tang to balance the savory chicken. Here are a few quick ideas:
4. Noodles for a Comforting Twist
Pair this soy garlic chicken with a bed of noodles for a filling and comforting meal:
5. Garnish for Added Flavor and Presentation
Don’t underestimate the power of garnishes! Adding a few finishing touches elevates both the flavor and the look of the dish:
6. Make It a Complete Meal
If you’re serving this for dinner, create a full, balanced meal with a few additions:
Quick Family Meal Idea
Serve your Soy Garlic Chicken with:
This combination is quick, easy, and satisfying—a guaranteed crowd-pleaser!
With these serving suggestions, you can easily tailor the meal to suit any occasion, whether it’s a casual weeknight dinner or a special gathering with loved ones.
Make-Ahead and Storage Tips
Want to save time or enjoy leftovers without losing that delicious flavor and texture? These tips will help you prepare your Soy Garlic Chicken in advance and store it perfectly for later.
Can You Make It Ahead?
Yes! You can prep parts of this recipe ahead of time to make weeknight dinners even faster:
- 1Prepare the Soy Garlic Sauce –Make the sauce ahead of time and store it in an airtight container in the refrigerator for up to 3 days.When ready to use, reheat Warm the sauce slowly over low heat to enhance its deep, rich flavors. If it thickens too much, add a tablespoon of water to loosen it up.
- 2Pre-Coat the Chicken –Season and coat the chicken with cornstarch a few hours in advance.Place the coated chicken on a tray, cover it with plastic wrap, and store it in the fridge until you’re ready to cook.
Pro Tip: For best results, fry or pan-sear the chicken right before serving to maintain its crispy texture.
How to Store Leftovers
Got leftovers? Here’s how to keep your chicken tasting fresh:
- 1Refrigeration –Store leftover chicken in an airtight container in the fridge for up to 3 days.To prevent sogginess, let the chicken cool to room temperature before storing.
- 2Freezing –While it’s best fresh, you can freeze the chicken without the sauce.Place cooked chicken in a freezer-safe bag or container and freeze for up to 2 months.Thaw in the fridge overnight, then reheat and toss with freshly made sauce.
How to Reheat Soy Garlic Chicken
Reheating properly will help preserve the crispiness of the chicken and the flavor of the sauce:
- 1Stovetop (Best Option) –Heat a non-stick skillet over low to medium heat.Add the chicken and let it reheat for 3–5 minutes, flipping occasionally. If needed, add a splash of water to the skillet to loosen the sauce.
- 2Oven –Preheat your oven to 350°F. Place the chicken on a baking sheet lined with parchment paper. Reheat for 8–10 minutes until the chicken is warm and crispy.
- 3Air Fryer –Reheat at 350°F for 3–4 minutes for crispy results.
- 4Microwave (Quick Option) –Place the chicken in a microwave-safe dish and cover it with a damp paper towel to prevent it from drying out. Heat in 30-second intervals until warmed through.
Pro Tip: The stovetop and air fryer methods are the best for maintaining the crispy texture. Avoid over-reheating, as this can make the chicken dry.
Meal Prep Tip
If you’re planning to make this for meal prep, keep the chicken and sauce separate until ready to eat. This prevents the chicken from losing its crispiness. When it’s time to enjoy, reheat the chicken and toss it in the sauce for that freshly made taste.
With these storage and reheating tips, you’ll never let any delicious Soy Garlic Chicken go to waste. It’s the perfect make-ahead dish for busy days or when you need a quick, satisfying meal.
Conclusion
And just like that, you’ve mastered the art of making soy garlic chicken—delightfully sweet, savory, and impossible to resist. With its perfect balance of flavors, simple ingredients, and quick preparation, this recipe is sure to become a weeknight favorite in your household.
Whether you’re frying, baking, or experimenting with different chicken cuts, the sticky soy garlic sauce elevates every bite. Pair it with steamed rice, fresh veggies, or noodles for a complete, satisfying meal the whole family will love.
Why not try this recipe tonight? It’s fast, easy, and packed with flavors that’ll have everyone asking for seconds. Don’t forget to sprinkle some sesame seeds and scallions for that final gourmet touch!
If you loved this recipe, let me know how it turned out!
Share your thoughts, tips, or even a photo of your creation in the comments below. And for more family-friendly, quick recipes, check out my other posts—there’s plenty more where this came from!
Soy Garlic Chicken FAQs
To Absolutely! Chicken breasts are a great option, especially if you’re looking for a leaner alternative. For the best results: Slice the chicken breasts into smaller pieces or strips so they cook evenly and stay tender.Avoid overcooking—check that the internal temperature reaches 165°F and remove immediately to prevent dryness.While thighs remain juicier, chicken breasts still deliver great flavor when paired with the sticky soy garlic sauce.
First, To adjust the sauce to your liking: For a thicker sauce: Add an extra cornstarch slurry (1 teaspoon cornstarch mixed with 2 teaspoons water) and simmer until thickened.To reduce saltiness: Use low-sodium soy sauce or dilute the sauce with 1–2 tablespoons of water while simmering. A splash of rice vinegar or honey can also balance out the salt. Pro Tip: Always taste the sauce as it simmers and adjust gradually to find the perfect flavor balance.
For ultra-crispy chicken, follow these tips: Use cornstarch – It creates a lighter, crispier coating compared to flour. Double-fry the chicken – Fry it once until golden, let it rest, then fry again for 2–3 minutes to get a restaurant-quality crunch. Keep the oil hot – Ensure the oil temperature stays between 350°F–375°F for the crispiest results. These steps will ensure your chicken stays crispy, even after being coated in sauce.
PreheatYes! Baking is a great alternative if you want to reduce oil usage: Preheat your oven to 425°F. Season and coat the chicken with cornstarch as directed. Place the chicken on a wire rack set over a baking sheet (this allows air circulation for even crisping). Spray the chicken lightly with cooking oil and bake for 25–30 minutes, flipping halfway through. Toss the baked chicken in the soy garlic sauce before serving.
While baking won’t produce the exact same crispiness as frying, it’s still a healthier, delicious option.
The recipe can easily be made gluten-free with one simple substitution: Replace regular soy sauce with gluten-free tamari or coconut aminos.
Both options deliver the same savory, umami flavor without any gluten. Be sure to check that your other ingredients, like cornstarch, are also certified gluten-free.

