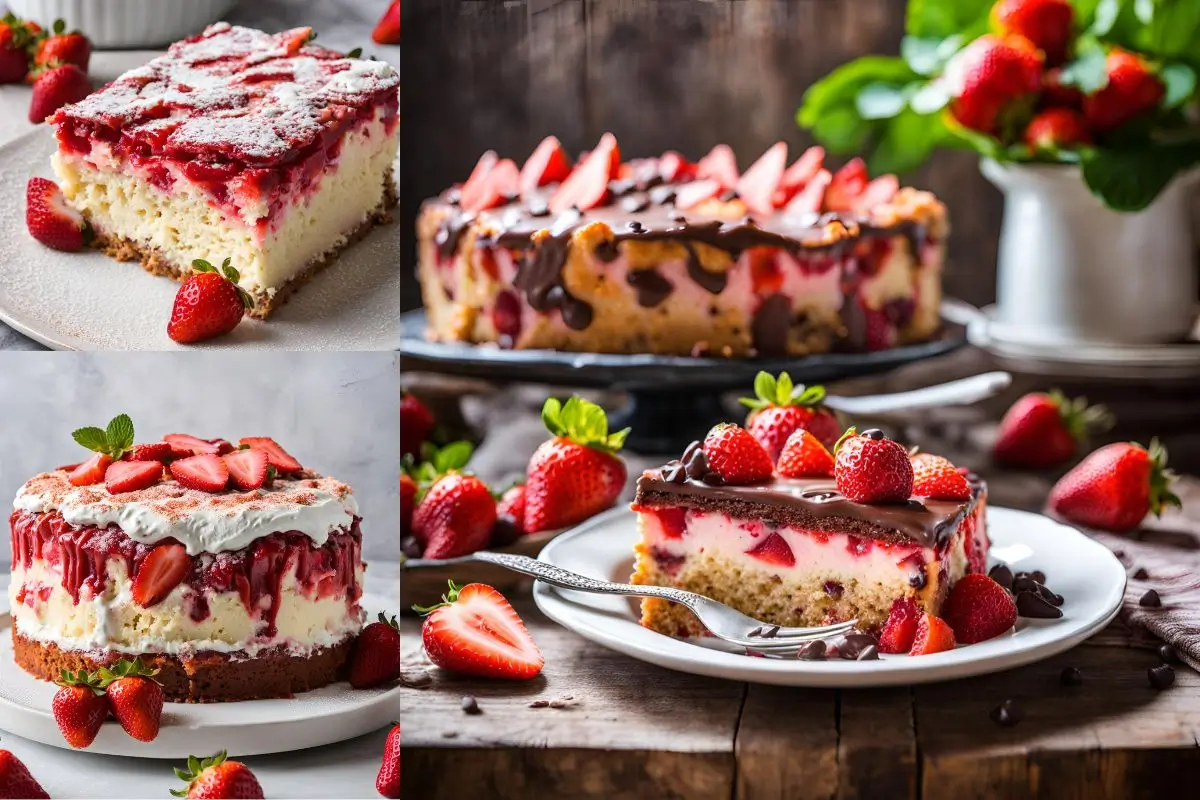
If you’re a dessert lover looking for something truly unique and irresistibly delicious, the Strawberry Earthquake Cake is here to rock your world—literally!
This show-stopping dessert combines the fruity sweetness of strawberries with the rich, creamy texture of a decadent cheesecake-like layer.
It’s not just a cake; it’s a mouthwatering adventure that’s as fun to make as it is to eat.
What makes this cake truly special?
Its signature “earthquake” effect! As it bakes, the creamy swirls create natural cracks and ripples, giving it that perfectly imperfect look that screams homemade charm.
Whether you’re hosting a family gathering, celebrating a birthday, or simply treating yourself, this dessert is guaranteed to steal the spotlight.
Ready to dive in?
Let’s uncover everything you need to know about crafting this sensational dessert, from the history of “earthquake cakes” to step-by-step instructions, tips, and delicious variations.
What is a Strawberry Earthquake Cake?
The Strawberry Earthquake Cake Cake puts a fresh and fruity spin on the traditional earthquake cake, making it a must-try dessert for berry lovers. It’s a layered dessert that features a strawberry-flavored cake base, a rich and creamy cream cheese mixture, and bursts of fresh strawberries or other mix-ins.
As it bakes, the cream cheese and cake layers shift, crack, and swirl, creating a marbled and "earthquake-like" appearance that’s as visually stunning as it is delicious.
This cake is loved for its balance of flavors—sweet strawberries, tangy cream cheese, and a soft, moist texture that melts in your mouth.
It’s a crowd-pleaser that appeals to dessert enthusiasts of all ages, making it a popular choice for parties, potlucks, and holiday gatherings.
The Origin of the ‘Earthquake’ Cake
The term "earthquake cake" comes from the unique way this dessert transforms in the oven. The interplay of the cake batter and cream cheese layer creates natural cracks and ripples, resembling the chaotic aftermath of an earthquake.
While traditional earthquake cakes often feature chocolate or pecan flavors, the strawberry version brings a refreshing, fruity twist that feels lighter and more summery.
Though its exact origin isn’t well-documented, the concept of "earthquake cakes" gained popularity in American home baking circles during the 1980s.
This creative technique highlights how baking can be both an art and a bit of a delicious science experiment.
Why It’s Called an ‘Earthquake’ Cake
It’s all in the name! During the baking process, the cream cheese mixture sinks into the cake batter, creating fissures, swirls, and cracks on the surface.
This "earthquake" effect not only gives the cake its signature look but also ensures that every slice has a bit of both creamy and cakey goodness.
The rustic appearance of the cake means you don’t have to stress about perfection—it’s supposed to look a little wild!
This makes it a beginner-friendly dessert that delivers gourmet-level results without the pressure of getting everything just right.
Flavor Profile and Texture
The Strawberry Earthquake Cake is a delightful symphony of flavors and textures. The fruity sweetness of fresh or preserved strawberries forms the heart of this dessert, while the cream cheese layer adds a tangy, velvety richness.
The cake itself is soft and moist, with a slight crumbly texture that contrasts perfectly with the cream cheese’s smoothness.
Optional mix-ins like shredded coconut, white chocolate chips, or crushed nuts can add even more dimension to every bite.
The real charm of this cake lies in its balance. It’s not overly sweet, thanks to the cream cheese layer, which tempers the sugary strawberry base.
This makes it a versatile dessert that pairs beautifully with coffee, tea, or even a dollop of whipped cream on the side.
Ingredients Needed for Strawberry Earthquake Cake
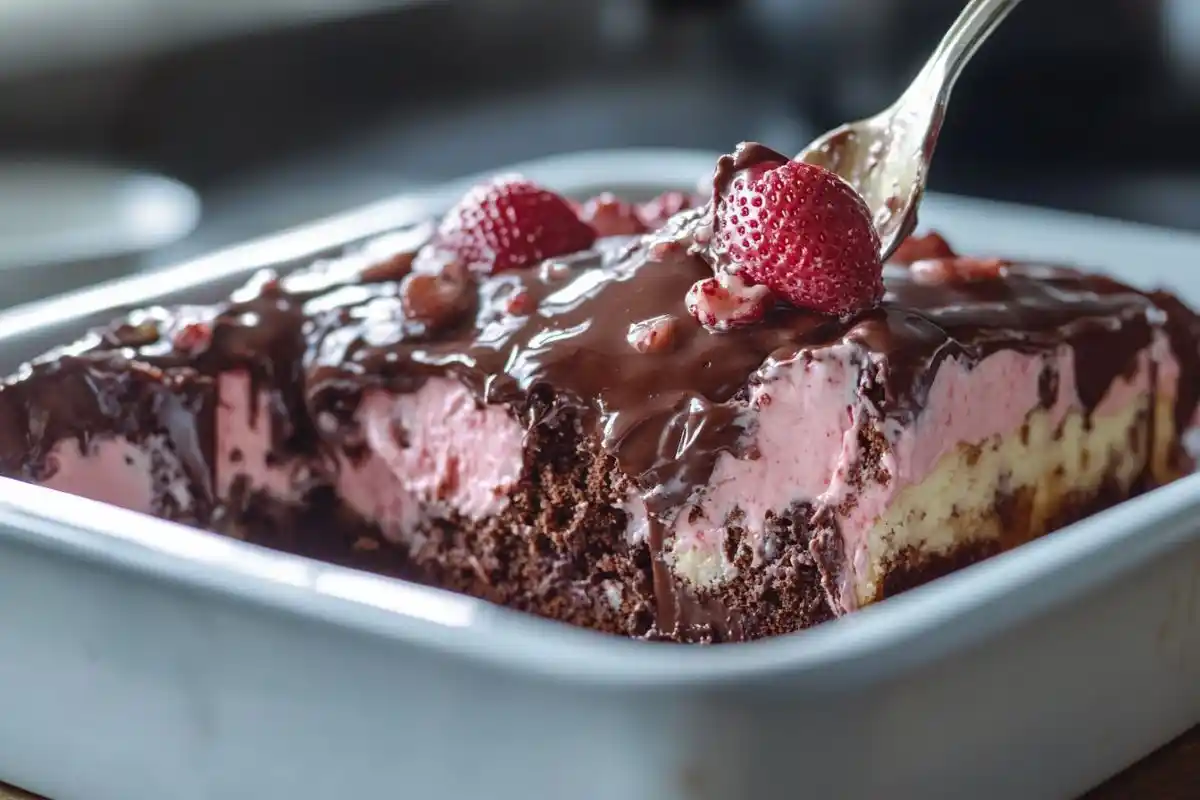
The magic of the Strawberry Earthquake Cake begins with the perfect combination of simple yet flavorful ingredients. Here’s everything you need to create this masterpiece, along with optional additions to make it uniquely yours.
Essential Ingredients
These are the must-have items for the base and layers of the cake:
- 1Strawberry Cake Mix (1 box)
The foundation of this dessert is a strawberry-flavored cake mix. Look for a high-quality mix that delivers a vibrant pink hue and a delicious strawberry taste. If you’re looking to boost the strawberry flavor, add a teaspoon of strawberry extract to the batter. - 2Fresh Strawberries (1 cup, diced)
Fresh strawberries bring bursts of natural sweetness and a juicy texture to the cake. Dice them evenly to ensure they’re distributed throughout the batter. If strawberries are out of season, frozen ones work as well—just thaw and drain them thoroughly to avoid excess moisture in the batter. - 3Cream Cheese (8 ounces, softened)
This creamy, tangy ingredient is the highlight of the “earthquake” effect. Soften the cream cheese to room temperature before mixing to achieve a smooth and luscious consistency. - 4Powdered Sugar (2 cups)
Used to sweeten the cream cheese layer, powdered sugar dissolves easily, creating a velvety texture without any grittiness. Adjust the sugar slightly if you prefer a less sweet dessert, but keep in mind this layer balances the tanginess of the cream cheese. - 5Eggs (3 large)
Eggs play a crucial role in holding the ingredients together and giving the cake its soft, yet stable, texture. Let them come to room temperature for easier mixing and better incorporation into the batter. - 6Butter (1/2 cup, melted)
Melted butter adds richness and enhances the overall flavor of the cake. Use unsalted butter to have better control over the cake’s sweetness and saltiness. - 7Milk (1/2 cup)
Replacing water with milk in the cake mix instructions adds a creamy texture and boosts the flavor. Whole milk works best, but feel free to use 2% or a dairy-free alternative, such as almond or oat milk.
Optional Additions for Enhanced Flavor
These optional ingredients can elevate your Strawberry Earthquake Cake:
- 1White Chocolate Chips (1/2 cup)
White chocolate chips melt slightly during baking, creating creamy pockets of sweetness that complement the strawberries and cream cheese. Sprinkle them evenly into the batter for the best effect. - 2Shredded Coconut (1/2 cup)
For a tropical flair, add shredded coconut to the batter or sprinkle it on top. It brings a chewy texture that pairs beautifully with the cake’s softness. - 3Chopped Nuts (1/3 cup)
For a crunchy element, add chopped pecans or almonds. Nuts can be folded into the batter or scattered on top before baking to provide a satisfying contrast in texture. - 4Vanilla Extract (1 teaspoon)
Adding vanilla extract to the cream cheese mixture enhances the flavor profile, adding a warm and sweet aroma that balances the tanginess of the cream cheese.
Pro Tip: Have all your ingredients measured and ready before starting. This step saves time and ensures a smoother baking process. Letting items like cream cheese, butter, and eggs come to room temperature also guarantees a consistent and creamy texture for your cake layers.
How to Make a Strawberry Earthquake Cake – Step-by-Step
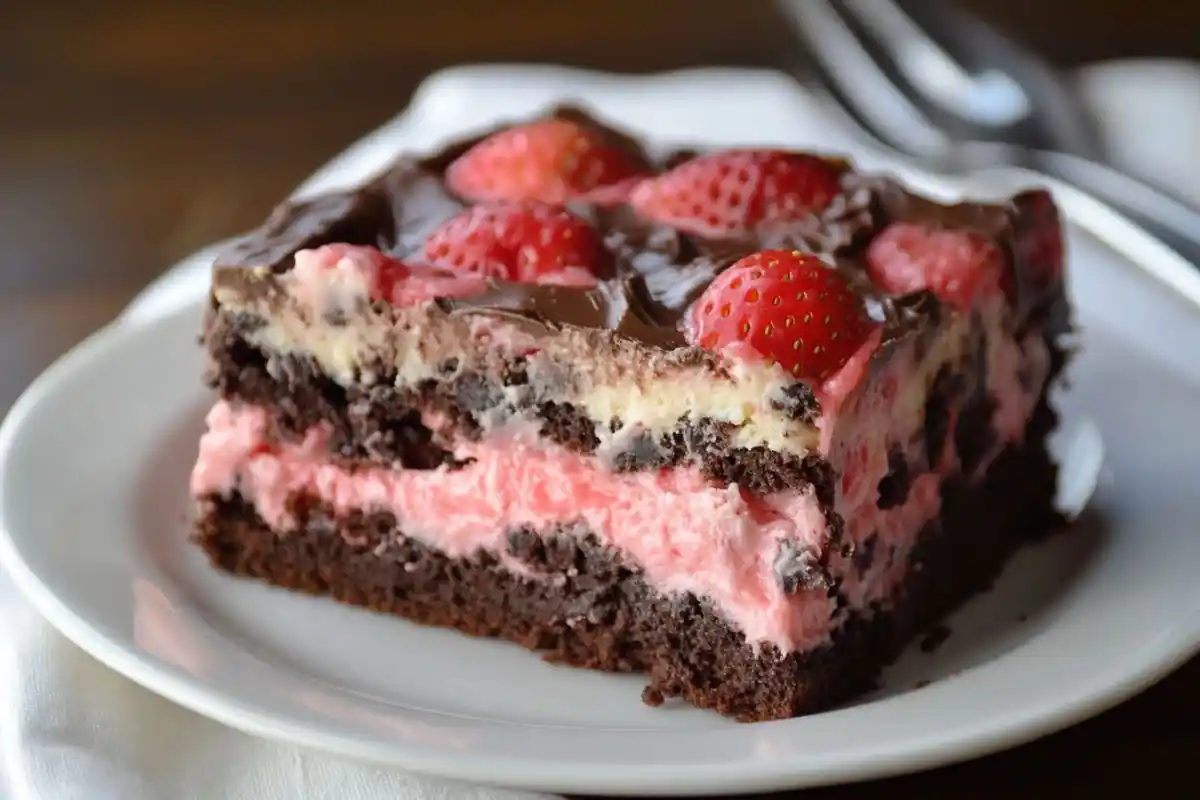
Creating a Strawberry Earthquake Cake is both fun and rewarding. The process is simple enough for beginners yet delivers results that look and taste like a professional dessert. Let’s break it down step by step for easy success.
Step 1: Prepare the Cake Batter
- 1Preheat your oven to 350°F (175°C).
A properly preheated oven ensures even baking and the perfect texture. Lightly grease a 9x13-inch baking dish or line it with parchment paper for easy removal. - 2Prepare the strawberry cake mix.
Follow the package instructions, substituting milk for water to enhance the flavor and richness of the batter. Use a hand or stand mixer for a smooth, lump-free consistency. - 3Fold in diced strawberries and optional mix-ins.
Gently incorporate the diced strawberries into the batter. If using optional ingredients like white chocolate chips or shredded coconut, add them at this stage. Avoid overmixing to maintain the cake’s airy texture.
Step 2: Prepare the Cream Cheese Mixture
- 1In a bowl, blend softened cream cheese with powdered sugar until smooth and creamy.
Use a hand mixer or stand mixer to beat the cream cheese until creamy and lump-free. Slowly incorporate the powdered sugar while mixing on low speed to prevent it from puffing into the air. - 2Add vanilla extract for extra flavor.
A teaspoon of vanilla extract enhances the cream cheese’s flavor, making it the perfect counterpart to the sweet strawberry cake. Mix until everything is fully incorporated.
Step 3: Assemble the Cake
- 1Pour the strawberry cake batter into the prepared dish.
Spread the batter evenly with a spatula, ensuring it reaches all corners of the pan. - 2Add dollops of the cream cheese mixture on top of the batter.
Use a spoon to drop generous dollops across the surface of the batter. Aim for evenly spaced dollops to create the signature “earthquake” effect. - 3Swirl the layers together.
With a knife or skewer, carefully create swirls in the batter to distribute the cream cheese mixture evenly. Don’t overdo it—this step should create visible marbled patterns rather than fully blending the layers.
Step 4: Bake
- 1Place the dish in the preheated oven.
Bake for 40–50 minutes. The cake is ready when the edges are set, the top has a slightly golden hue, and a toothpick inserted near the center comes out with a few moist crumbs (not wet batter). - 2Monitor the baking process.
If the top browns too quickly, tent the cake with aluminum foil during the last 10–15 minutes of baking.
Step 5: Cooling and Decorating
- 1Cool the cake completely.
Allow the cake to cool in the pan for at least 30 minutes. This helps the layers set and makes it easier to slice. - 2Add optional toppings for decoration.
Dust the top with powdered sugar, drizzle with a simple strawberry glaze, or scatter fresh strawberries and coconut for a decorative finish.
Step 6: Storing Leftovers
- 1Refrigerate the cake for freshness.
SKeep any leftover cake in a sealed container in the fridge, where it will stay fresh for up to five days. The cream cheese layer requires refrigeration to maintain its texture and flavor. - 2Freeze individual slices for longer storage.
Individually wrap each slice in plastic wrap, then transfer them to a freezer-safe bag for long-term storage. Frozen slices can last up to 3 months—simply thaw in the refrigerator before enjoying.
Variations and Customizations
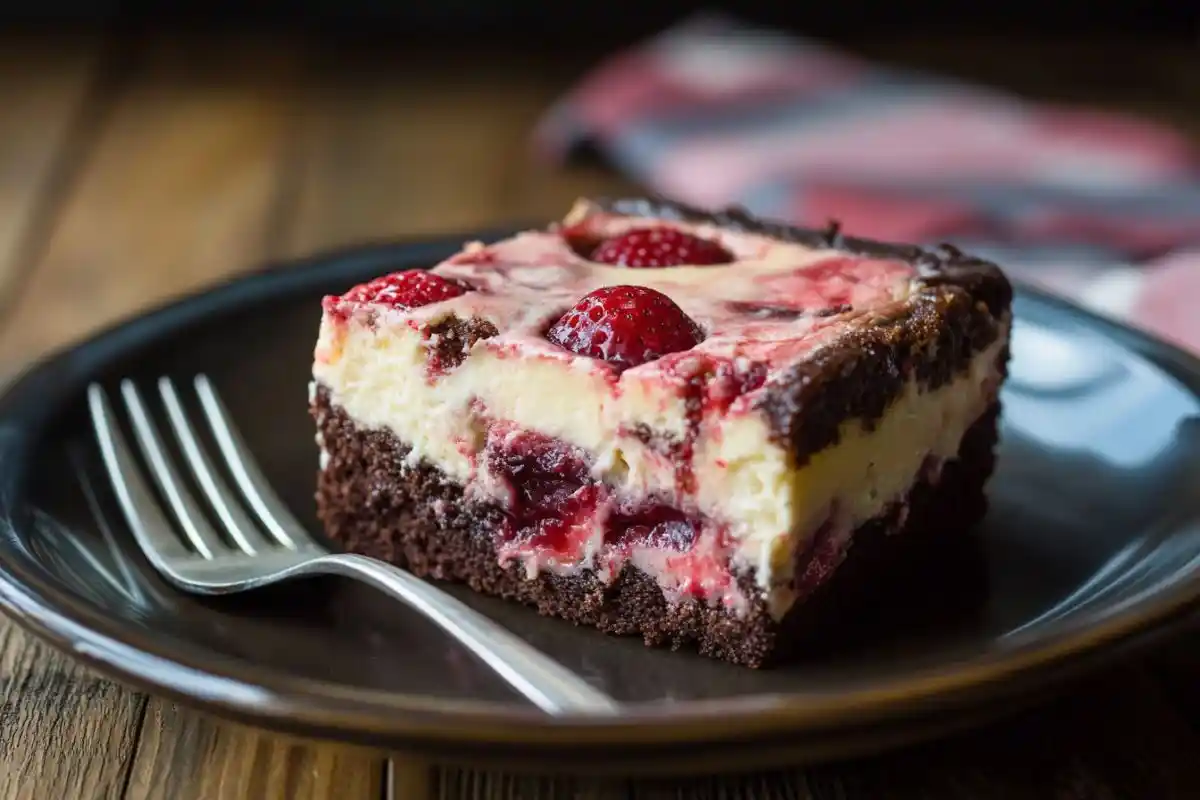
One of the most exciting aspects of the Strawberry Earthquake Cake is how adaptable it is. Whether you’re in the mood for a tropical twist, a richer flavor, or a fun mix of textures, this cake is your playground. Let’s dive into some creative variations and customizations that will make this dessert uniquely yours.
Fruit Variations
- 1Mixed Berry Medley:
Why stop at strawberries when you can go all-in on a medley of fresh berries? Toss in a handful of blueberries, raspberries, or even blackberries for a vibrant burst of flavor. The tartness of the additional berries perfectly balances the cake’s sweetness, creating a delightful surprise in every bite. Bonus: the mix of colors will make your cake look like a piece of edible art - 2Peach and Strawberry Twist:
Add diced peaches to the batter for a summer-inspired twist that’s hard to resist. The juicy sweetness of peaches combined with strawberries creates a dreamy flavor profile that will have everyone reaching for seconds. - 3Pineapple Infusion:
Crushed pineapple (thoroughly drained, of course!) adds a tropical vibe that pairs beautifully with shredded coconut. Think of this as your ticket to a mini vacation in every slice. This variation is a hit at summer picnics and beach-themed parties.
Pro Tip: lightly coat the peach pieces in flour before adding them to the batter to keep them from sinking to the bottom.
Cake Mix Alternatives
- 1White Cake Mix:
Can’t find strawberry cake mix? No problem! A box of white cake mix will do the trick. Add a teaspoon of strawberry extract and a touch of red food coloring for that classic strawberry flavor and a lovely pink hue. It’s an easy swap that’s just as delicious! - 2Yellow Cake Mix:
For a slightly richer base, swap the strawberry mix with yellow cake mix. The buttery flavor of yellow cake complements the cream cheese layer beautifully and lets the strawberry pieces shine even more. - 3Chocolate Cake Mix:
Chocolate and strawberries—do we even need to say more? The deep, rich flavor of chocolate cake combined with the fruity brightness of strawberries creates a luxurious dessert that feels straight out of a bakery.
Additional Mix-ins
- 1Chopped Nuts:
Looking for a bit of crunch? Add chopped pecans, walnuts, or almonds to your batter or sprinkle them on top. They add a nutty depth of flavor and a delightful textural contrast to the creaminess of the cake. - 2Mini Marshmallows:
For a fun, gooey surprise, scatter mini marshmallows over the cake batter before adding the cream cheese layer. As the cake bakes, the marshmallows melt into sweet, chewy pockets of joy that kids (and adults!) will adore. - 3Chocolate Chips or White Chocolate Chips:
Want an extra dose of indulgence? Fold a handful of chocolate or white chocolate chips into the batter. As the cake bakes, these little gems will melt into creamy, sweet surprises that elevate the entire dessert. - 4Shredded Coconut:
Coconut lovers, this one’s for you! Add shredded coconut to the batter for a tropical twist or sprinkle it on top for a lightly toasted finish. It’s the perfect addition for summer parties or when you want to feel like you’re on a tropical getaway.
Frosting and Glaze Ideas
- 1Strawberry Glaze:
Amplify the fruity vibes by drizzling a homemade strawberry glaze over the cooled cake. Simply mix powdered sugar, fresh strawberry puree, and a splash of milk until smooth. It’s the perfect finishing touch for an extra burst of strawberry flavor. - 2Cream Cheese Frosting:
Double down on the cream cheese goodness with a layer of cream cheese frosting. Spread it thinly across the top of the cake for added richness and a polished, bakery-style finish. - 3Chocolate Ganache:
For an over-the-top indulgence, pour a silky chocolate ganache over the cake. The rich, glossy ganache pairs beautifully with the fruity strawberry flavors, making this version perfect for special occasions. - 4Powdered Sugar Dusting:
Keep it simple and elegant with a light dusting of powdered sugar. This minimalist finish lets the natural beauty of the cake shine while adding just a touch of sweetness.
The beauty of the Strawberry Earthquake Cake lies in its adaptability. Whether you’re looking to wow guests at a party or create a comforting treat for a cozy night in, these variations allow you to make the cake your own.
Don’t be afraid to experiment—you never know when you’ll stumble upon your next favorite flavor combination!
Storage and Shelf Life
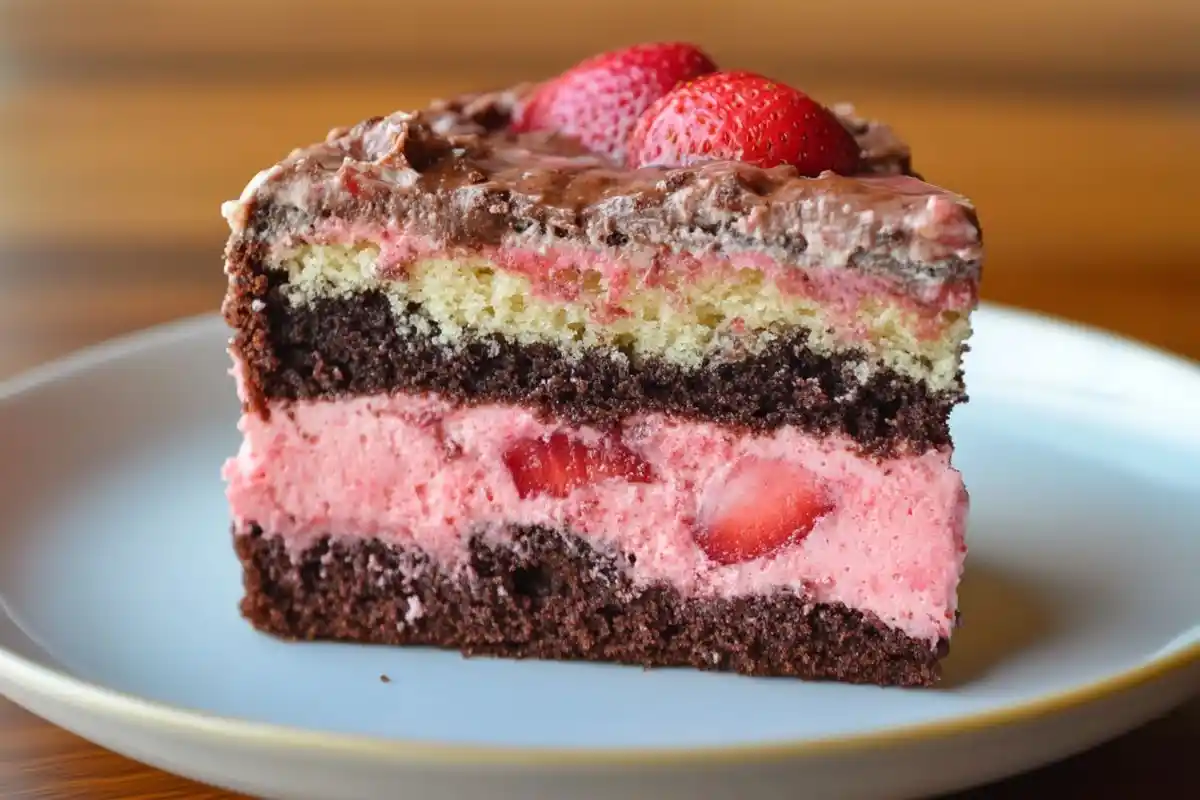
Proper storage is key to ensuring that your Strawberry Earthquake Cake stays as fresh and delicious as the day you baked it. Whether you’re saving leftovers or prepping slices in advance, here’s everything you need to know to keep your cake tasting its best.
Storing the Cake
- 1At Room Temperature (Short-Term):
If you’re planning to serve the cake within a few hours, it can be kept at room temperature. Simply cover it with aluminum foil, plastic wrap, or a cake dome to protect it from drying out. However, because of the cream cheese layer, avoid leaving it out for more than 4–5 hours. - 2In the Refrigerator (Best for Freshness):
For longer storage, transfer the cake to an airtight container and refrigerate it. The cream cheese layer stays fresh and maintains its texture in a cool environment. Refrigerated, your cake will stay delicious for up to 5 days.
Pro Tip: Let refrigerated slices sit at room temperature for 15 minutes before serving for the best flavor and texture.
Freezing the Cake
- 1Freezing the Entire Cake:
Planning to save the cake for a later date? Let the cake cool down fully before wrapping it snugly in plastic wrap and then a layer of aluminum foil to keep it fresh. This double-layer wrapping prevents freezer burn. Place the wrapped cake in a freezer-safe container or bag for added protection. It will stay fresh for up to 3 - 2months Freezing Individual Slices:
Want a grab-and-go dessert option? Slice the cake into individual portions, then wrap each slice in plastic wrap. After wrapping the slices, place them in a freezer-safe bag and press out excess air before sealing to prevent freezer burn. This method makes it easy to defrost one piece at a time.
Defrosting Tips
- 1Overnight in the Refrigerator:
For the best results, transfer the frozen cake or slices to the refrigerator and let them thaw overnight. This gradual thawing preserves the texture and flavor of the cake. - 2Quick Thaw at Room Temperature:
If you’re short on time, you can let individual slices sit at room temperature for about 30–45 minutes. Avoid microwaving the cake, as it can melt the cream cheese layer and affect the texture.
Bonus Tip for Storage
When storing your cake, consider adding a layer of parchment paper between slices. This prevents them from sticking together, making it easier to grab just what you need without damaging the rest of the cake.
With these simple storage tips, your Strawberry Earthquake Cake will remain just as delicious and irresistible days (or even weeks) after baking.
Conclusion
The Strawberry Earthquake Cake is more than just a dessert—it’s an experience! With its striking marbled appearance, rich cream cheese layer, and bursts of strawberry sweetness, it’s a show-stopping treat that’s as delightful to make as it is to eat.
Whether you stick to the classic recipe or experiment with variations and customizations, this cake is guaranteed to impress friends, family, and even the toughest dessert critics.
Perfect for family dinners, potlucks, or any special occasion, this cake’s unique “earthquake” effect combines rustic charm with gourmet appeal.
Plus, with its easy storage and versatility, you’ll find yourself reaching for this recipe time and time again.
So, why wait?
Gather your ingredients, preheat that oven, and get ready to create a dessert that will not only rock your taste buds but also become a cherished favorite in your recipe collection.
Enjoy every bite of your Strawberry Earthquake Cake—it’s the kind of sweetness that keeps life deliciously fun!
Strawberry Earthquake Cake FAQs
The signature “earthquake” cracks and swirls occur when the cream cheese mixture sinks into the cake batter as it bakes. If your cake isn’t cracking:
The cream cheese mixture might be too thick. Ensure it’s smooth and slightly runny by beating it well and using room-temperature cream cheese.
The batter might have been overmixed. Overmixing the cake batter can result in a dense texture that doesn’t allow for natural cracks to form.
Yes, but you’ll lose the signature creaminess that makes the cake so unique. If you want a cream cheese alternative, consider:
Greek Yogurt or Sour Cream: Substitute equal parts of Greek yogurt or sour cream mixed with powdered sugar for a similar tangy flavor.
Dairy-Free Options: Use vegan cream cheese if you’re avoiding dairy. It works beautifully in the recipe!
The cake is ready when:
The edges are golden and pulling slightly away from the pan.
The center is set but slightly soft.
Insert a toothpick near the center; it should come out with moist crumbs, not wet batter. Keep in mind that the cream cheese layer will remain slightly gooey even after the cake is fully baked.
Absolutely! Frozen strawberries work well, but there are a few tips to keep in mind:
Thaw and Drain Thoroughly: Excess moisture from frozen strawberries can affect the cake’s texture. Pat them dry with a paper towel after thawing.
Chop Before Adding: Dice the strawberries into small pieces to ensure even distribution throughout the cake.
If you prefer a less sweet cake, try these adjustments:
Reduce the Sugar in the Cream Cheese Layer: Decrease the powdered sugar in the cream cheese mixture by 1/4 cup.
Use Fresh Strawberries Instead of Sweetened Ones: Avoid pre-sweetened or canned strawberries, as they add extra sugar.
Omit Sweet Mix-ins: Skip mix-ins like chocolate chips or marshmallows to balance the overall sweetness.

